My SD card suddenly stopped working after I removed it from my camera, and now my computer says it needs to be formatted before I can open it. It has years of family photos on it that I haven’t backed up, including birthdays and vacation pictures. I need help with the best way to recover photos from a corrupted SD card without making things worse.
I hate this one because I’ve done it to myself more than once. Long shoot, full card, rush to dump files, then the SD card shows up broken or unreadable. Feels bad every time. Still, don’t keep poking at it. A corrupted card often still has your files on it. The file system is what usually gets messed up first, not the raw data.
First move, stop writing anything to the card. Don’t put it back in your camera. Don’t retry recording. Don’t keep reconnecting it to “see if it works now.” If new data lands on old sectors, your recovery odds drop fast.
The order matters here. Recover first. Repair after. I learned this the hard way. A lot of people go straight to repair tools, or worse, formatting. Bad call if the files matter. Some fixes rewrite parts of the card structure, and once that happens, recovery gets uglier.
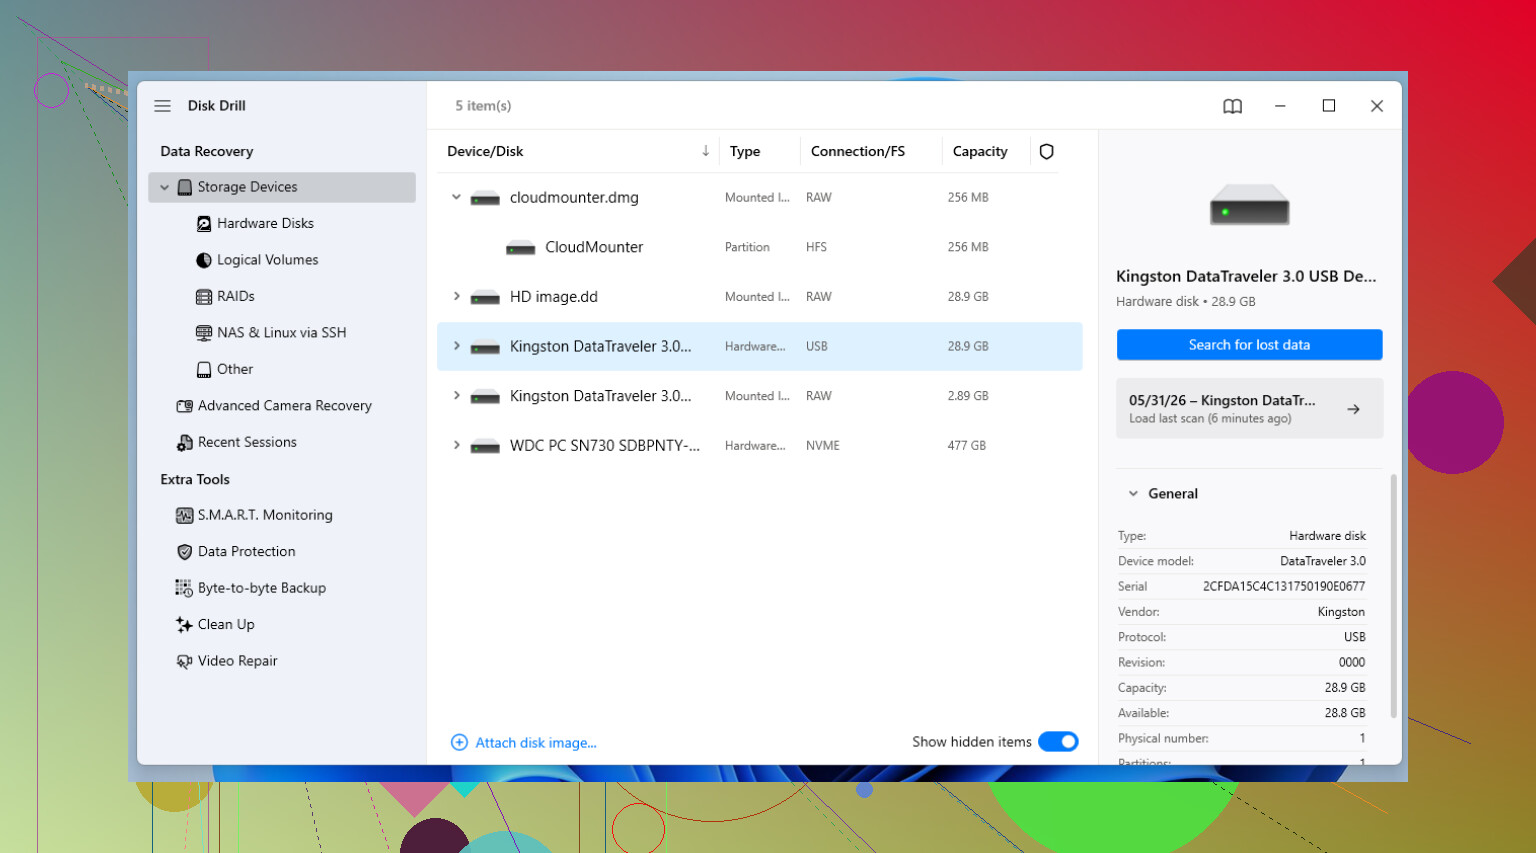
If the photos or video matter, I’d start with recovery software instead of system repair tools. I’ve had good results with Disk Drill. The part I keep coming back to is the byte-to-byte backup option.
This part matters more than people think. When an SD card starts acting corrupted, it might be on its way out physically. Every full scan reads the card over and over. More stress, more risk. Disk Drill lets you clone the card into a full image file, sector by sector. I do that first if the card looks shaky. Then I unplug the card and work from the image on my computer. Safer. Less chance the card dies halfway through recovery. I wish I’d done this sooner on a few old cards, tbh.
After your files are copied out, or if you’ve already decided the data is gone, then deal with fixing the card itself. This is the order I usually follow.
1. Check the boring stuff first
Yeah, obvious. Still worth doing. Try another USB port. Try another reader. Those tiny microSD-to-SD adapters and cheap USB readers fail all the time. I’ve had “corrupt” cards turn out fine once I swapped the reader. If you used a laptop slot, test with a separate USB reader too.
2. Open Disk Management and look for a missing drive letter
Windows sometimes sees the card but doesn’t mount it cleanly in File Explorer. Right-click Start, open Disk Management, and look for the card there. If it appears with no drive letter, right-click it, pick Change Drive Letter and Paths, then assign one. I’ve seen cards come back online from this alone.
3. Run the built-in Windows error check
This is the mild fix. In File Explorer, right-click the SD card, open Properties, then Tools, then Check. It scans for file system errors and tries to patch them. I use this only after recovery, or when I’m fine risking a light repair attempt.
4. Use CHKDSK if the easy fix does nothing
If the GUI tool gets nowhere, open Command Prompt or Terminal as Administrator and run chkdsk X: /r. Replace X with the SD card’s drive letter. The /r flag tells Windows to scan for bad sectors and recover readable data where it can. On big cards, this drags. Let it finish.
5. Try TestDisk if the partition is gone
If the card shows as unallocated, or the partition table looks trashed, TestDisk is one of the few tools I’d bother with. It’s open source and ugly as sin, but it works. No hand-holding. You need to read the menus carefully. Still, for cards that show up empty when they shouldn’t, it has saved people a lot of grief.
6. Format it if you’re done chasing the old data
If recovery is finished and repairs didn’t stick, formatting is the reset button. Standard format first. If that fails, try a low-level format tool. I usually pick exFAT afterward because it plays nice with large files and most devices read it without drama.
One more thing. If a card corrupts once, I stop trusting it. SD cards wear out. They’re consumables, even if people treat them like permanent storage. I keep flaky cards for throwaway use at best, or I trash them. For anything important, I replace them with a decent one from SanDisk or Kingston and move on.
Also, use Eject. Every time. I used to skip it when I was tired or in a hurry, and yeah, I paid for it.
4 Likes
Do not format it. Do not run repair first. I agree with @mikeappsreviewer on the recovery-first part, but I’m a bit more cautious about CHKDSK on photo cards. I’ve seen it turn a messy file system into a cleaner mess, which is great for the card, bad for old photos.
What I’d do:
- Clean the metal contacts with a dry microfiber cloth.
- Try a different card reader, not the camera.
- Try another computer, preferrably one with a built-in slot and one with USB.
- If the card mounts even once, copy everything in one pass to your hard drive.
- If it does not mount, make an image of the card, then scan the image with Disk Drill.
Disk Drill is a solid pick here because photo recovery is simple to preview. Look for original file names, dates, and folder structure first. If those are gone, sort by file type and size. JPEGs from cameras often recover well. RAW files too, if the card isn’t physically dying.
One more thing people skip. Check whether your camera stored photos in internal memory or wrote sidecar files elsewhere. I’ve had an old camera save a few shots I thought were gone. Weird, but it happend.
If the card gets hot, disconnects randomly, or shows 0 bytes, stop DIY stuff and use a recovery shop. Those symptoms are worse.
If you want a step-by-step video, this helps: how to recover photos from a corrupted SD card.
After you get the pics off, retire the card. I would not trust it again, period.
Do not click Format. That prompt is Windows being dumb and impatient, not proof the photos are gone.
I mostly agree with @mikeappsreviewer and @techchizkid on recovery-first, but I’d actually skip even light “fixes” until you know whether the card is readable at a low level. A lot of cards that look dead are really just failing to mount because the partition metadata got borked.
What I’d add:
- Check the little lock switch on the full-size SD adapter if you’re using one. Sounds silly, but I’ve seen adapters act weird when that switch is loose.
- On Windows, look in Device Manager, not just File Explorer. If the reader sees the card as a storage device, that’s a better sign than Explorer saying “format it.”
- On Mac, open Disk Utility and see whether the card appears with the correct capacity. If capacity looks normal, chances are the photo data is still there.
- If the card shows the right size, make a full image first and recover from that image. Disk Drill is good for this because it can create a byte-level backup and then scan the backup instead of beating up the original card.
- If recovered photos open partly, copy them anyway. Partial files can sometimes be repaired later, esppecially JPEGs.
Small disagreement with the usual advice: I would not keep trying a bunch of readers for hours if the card starts disconnecting. At that point you can make it worse fast.
If the photos are truly irreplaceable, stop DIY after the first failed imaging attempt and use a pro lab. Family pics are not the place to “test stuff.”
For extra reading, here’s a solid thread with practical corrupted SD card recovery tips.
And yeah, after this, retire that card. Dead serious.

I’d slightly push back on one thing from @techchizkid, @kakeru, and @mikeappsreviewer: if the card appears but throws read errors, I would avoid repeated full rescans even from different apps. Pick one good attempt, preferably imaging first, then stop. SD cards can go from flaky to unreadable fast.
What I’d check that nobody mentioned much:
- Try reading it on a Linux live USB. Sometimes Linux mounts cards that Windows immediately wants to format.
- If it mounts read-only, that is actually good news. Copy in chunks by folder, not everything at once.
- Watch for weird capacity reporting. If the size is wrong, that points more to controller trouble than simple file system corruption.
About Disk Drill specifically:
Pros
- easy preview for photos
- can scan a card image instead of the original
- decent at pulling JPEG/RAW files by signature
- simpler UI than TestDisk or PhotoRec
Cons
- deep scan can lose original names/folders
- free recovery limits depend on platform/version
- not the best choice if the card has severe hardware failure
- can tempt people to keep rescanning instead of stopping early
My take: if the card is detected with correct size, make one image and scan that with Disk Drill. If the card disconnects, reports 0 bytes, or makes the reader freak out, skip DIY and go straight to a recovery lab. For family photos, that line comes sooner than most people admit.