I’ve been trying to generate realistic yoga AI photos for a project, but the poses look awkward and the lighting and anatomy often come out wrong. I need advice on the best prompts, tools, and settings to get natural-looking yoga poses, proper muscle definition, and studio-style lighting. Any step-by-step tips, example prompts, or recommended AI image generators for high-quality yoga images would really help me finish this project.
If you want AI yoga photos of yourself and you do not feel like wrestling with prompts for hours, here is what worked for me.
I ended up using this app:
Eltima AI Headshot Generator: Eltima AI Headshot Generator App - App Store
It is sold as a headshot thing, but it has activity packs, including fitness and yoga. That part matters more than the name on the icon.
Why I stuck with Eltima AI Headshot Generator for yoga shots
YouTube walkthrough I watched before trying it:

Most AI tools I tried before made weird bodies. Bent arms, twisted wrists, extra fingers, strange knees. Yoga makes this worse because the poses rely on line and balance. If the hips or spine are off, the whole thing looks wrong, even if the face is fine.
With Eltima AI Headshot Generator, the yoga and fitness packs felt like pre-trained “pose recipes”. Instead of dumping a text prompt like “woman doing downward dog in a studio”, I picked templates where the pose and setting were already dialed in.
Stuff I got out of it
Using only the yoga and fitness-style options, I got:
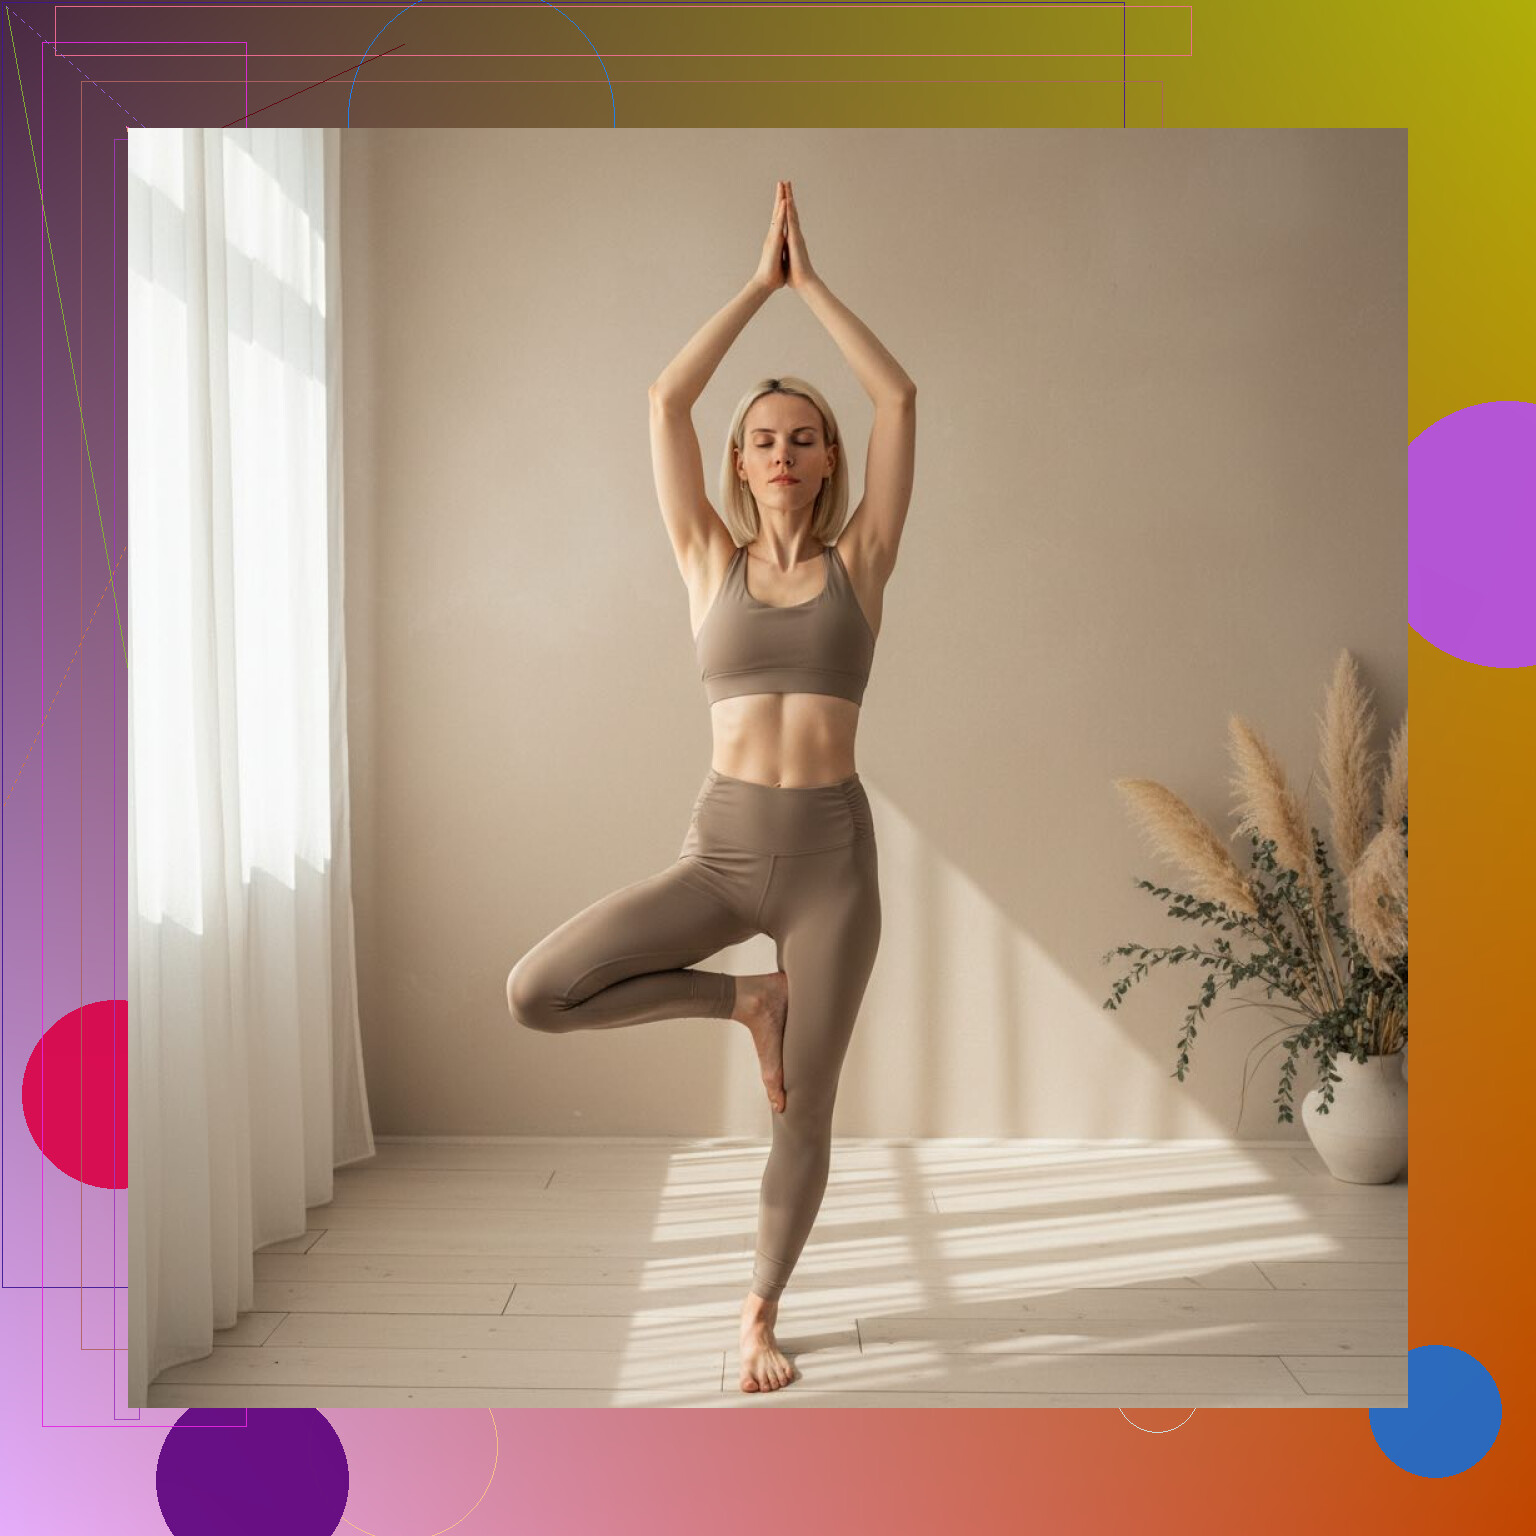
• Poses that looked like something you would see in a studio class: stretching, balance poses, seated meditation
• Indoor studio setups, with mats, soft light, neutral walls
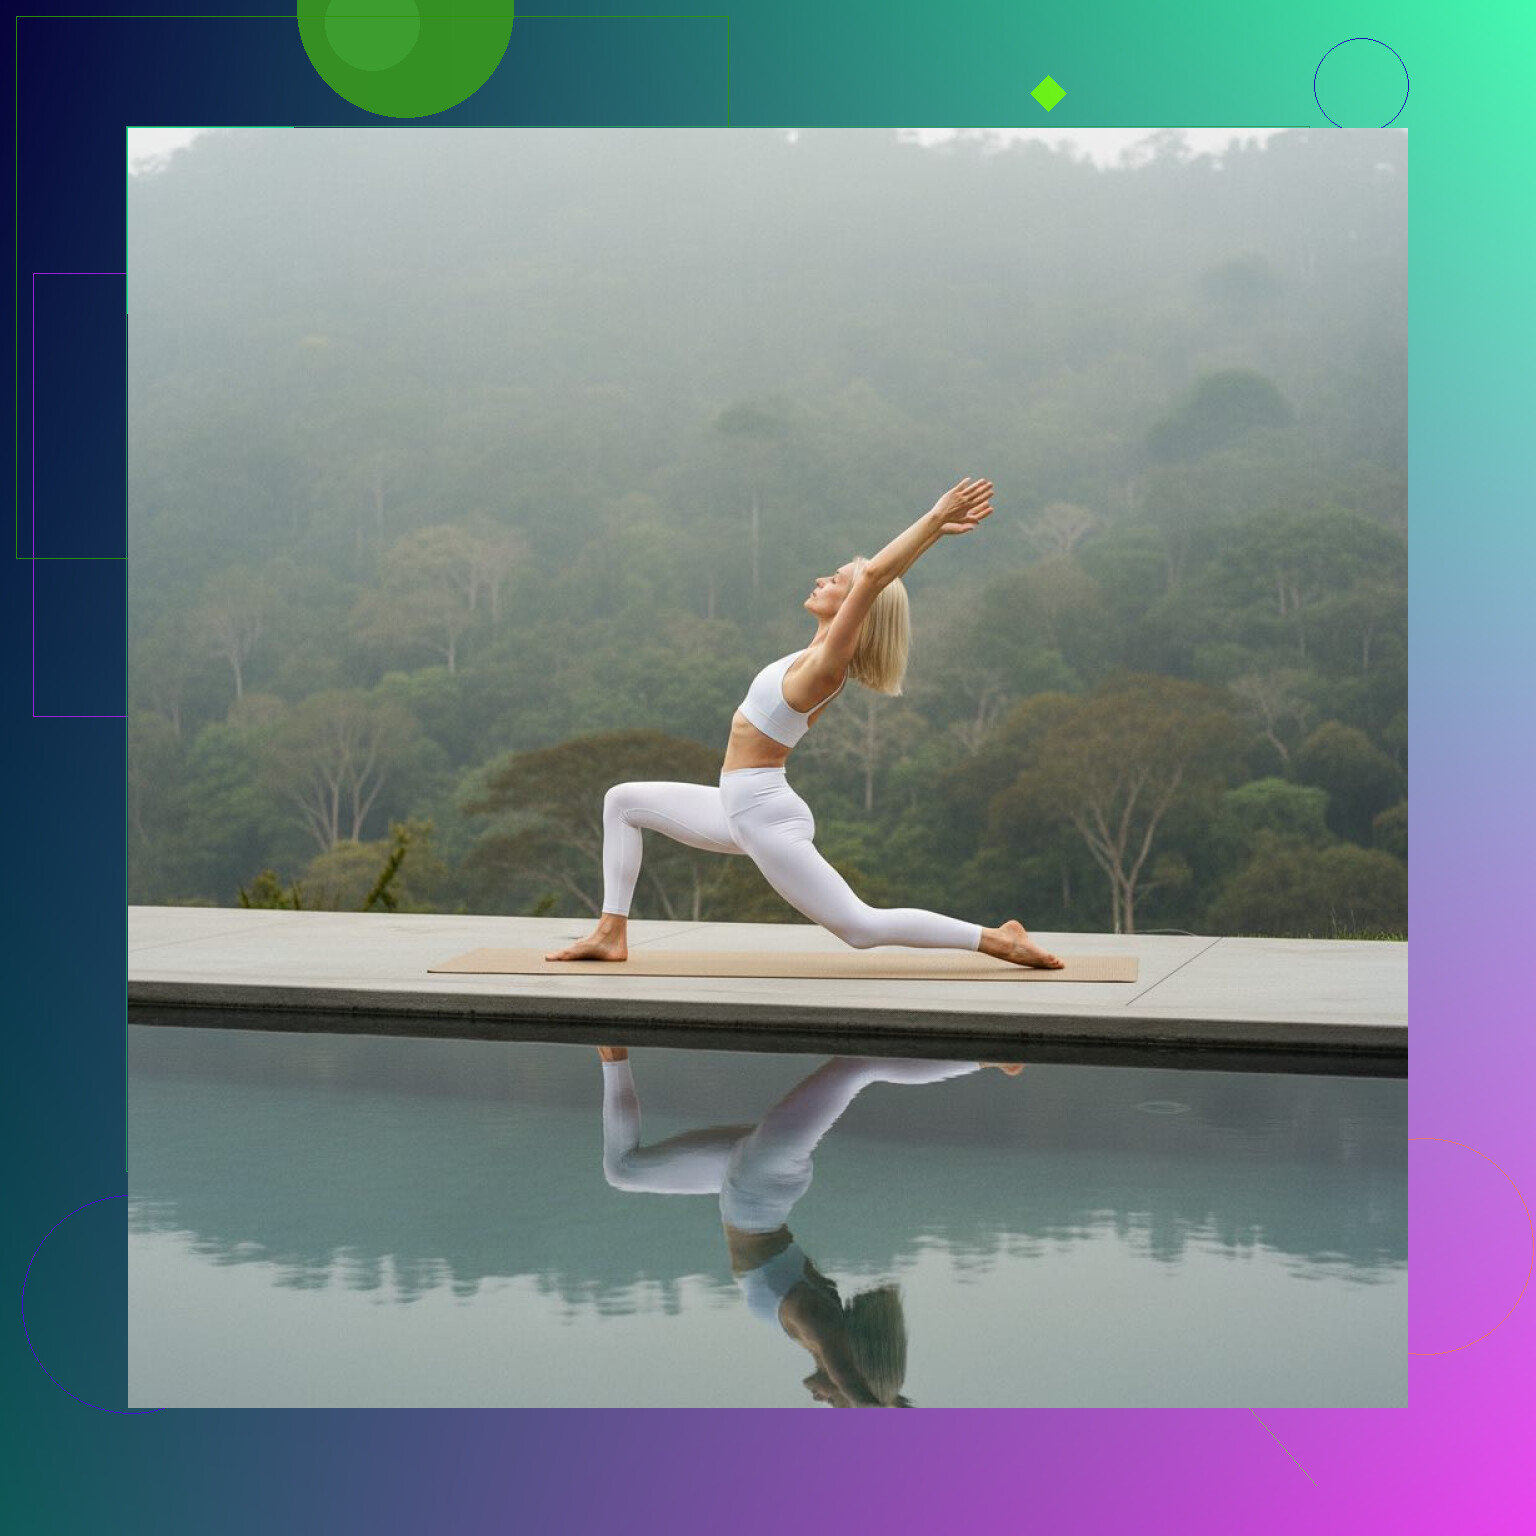
• Outdoor scenes, usually grass, decks, or cliff-type views
• “Wellness” lifestyle shots, think softer framing, casual clothes, natural light
• Social-media style crops that fit Reels, stories, profile pics
The app tried to drop my face and body into full scenes like a gym, studio, or outdoor park. It matched the light and camera angle from the template, so the result felt more like a real photo session than a cut-and-paste edit.
The big gain for yoga photos
Most portrait-only generators stop around the shoulders or chest. That is useless for yoga. You need legs, arms, spine, sometimes the full mat. The activity packs in Eltima AI Headshot Generator gave me full-body frames, or at least three-quarters, so poses were readable.
If you care more about showing the posture than your makeup, this matters more than any “AI quality” marketing line.
What I did, step by step
These are the photos I got from one of my runs:
Process was short, like one coffee break.
- Upload selfies
I used 1 to 3 selfies from my phone gallery.
Some things that helped:
• Face clearly visible, no heavy shadows
• Different angles, not all dead-on
• No sunglasses, no face filters
• A couple of side views
You do not need pro photos, but you want your face shape and features easy to read.
- Let the app build your profile
The app processed the images and created an “AI version” of my face. This took a few minutes.
Tip from my runs:
If the first batch looks “off”, go back and swap your source selfies. Remove blurry ones, extreme angles, or any with harsh colored lighting, then retrain.
- Pick a yoga or fitness pack
Inside the style or pack section, I picked:
• Yoga-focused styles
• General “fitness” or “active” styles with mats, gyms, or outdoor exercise spots
Sometimes the best yoga pose came from a “fitness woman stretching” pack rather than one that used the word “yoga”. It is worth testing a few.
- Generate the photos
After selecting the pack, I chose how many outputs I wanted and let it run.
What I saw in the results:
• Full-body poses that looked closer to real practice
• Backgrounds that lined up with the pose, like the mat not floating, feet on the floor
• Lighting that matched the scene, so my face did not look pasted on
I deleted anything with warped hands, strange feet, or broken alignment. You get some duds, but enough decent ones for social or profile content.
When this setup makes sense
If your goal is yoga-style photos of yourself for:
• Instagram, TikTok, or class promo
• Thumbnails for YouTube yoga videos
• Profile images that fit a wellness or fitness angle
• Mockups for site designs
Then going with a generator that already knows yoga and fitness poses saves time and nerves.
This one worked for me:
Eltima AI Headshot Generator: Eltima AI Headshot Generator App - Create Pro Photos in 2026
The key part is the fitness-style packs. Those give you full-body yoga poses in believable environments, instead of only stiff passport-type portraits.
1 Like
I get why your poses look off. Yoga breaks most stock AI assumptions about posture and balance.
@mikeappsreviewer covered the “template app” route. Useful if you want your own face with minimal effort. If you want more control or need non‑selfie project images, try this stack:
- Use a pose‑aware tool, not only text
Text only gives you awkward limbs.
Better options:
• OpenPose control with Stable Diffusion (Automatic1111 or ComfyUI)
• ControlNet or T2I‑Adapter with pose, depth, and sometimes segmentation
Workflow:
• Get real pose refs from Yoga With Adriene, Yoga Journal, Alo, etc.
• Convert ref photos to OpenPose skeletons.
• Feed that skeleton to ControlNet.
• Prompt for style and mood, not for pose.
Your prompt example:
“full body photo of a woman in warrior II pose, yoga studio, natural window light, 35mm lens, soft shadows, neutral colors, yoga mat on hardwood floor”
Let ControlNet handle the limbs. Let the prompt handle the vibe.
- Fix anatomy with narrow styles
Most “anything goes” models miss anatomy.
Look for:
• Stable Diffusion model tags like “realistic”, “photoreal”, “fitness”, “body detail”
• LORA packs tagged yoga, pilates, dance, gymnastics
Use one or two focused LORAs at low weight (0.4 to 0.7). Too many gives mutant joints.
Negative prompt for anatomy:
“extra fingers, extra arms, extra legs, deformed hands, twisted spine, broken joints, dislocated shoulders, mangled feet, missing limbs”
- Control lighting like a photographer
Your lighting issues usually come from vague prompts.
Pick one lighting setup and stick to it:
• “soft natural light from large window, key light from left, subtle shadows on floor”
• “studio lighting, softbox from front right, clean white background, even light”
• “golden hour sunlight, warm tone, long soft shadows on mat”
Keep it short and consistent across batches. Note which wording gives the best skin and shadows, then repeat those phrases.
- Camera, lens, and framing
Yoga poses break when you use weird focal lengths.
For natural photos:
• “full body shot, eye level, 35mm lens, mid distance”
or
• “three quarter body shot, 50mm lens, slight angle”
Avoid:
• “wide angle” for closeups, it warps limbs
• “fish eye” or “extreme perspective”
Add “full body visible, feet on mat” so the model does not crop shins off.
- Build prompts in layers
Start with:
“full body photo of woman doing yoga pose in studio, neutral background, 35mm lens, soft natural light”
Run that. If anatomy looks ok, add:
“warrior II pose, arms extended, front knee bent, back leg straight, looking over front hand”
If it starts to break, your model or negative prompts are fighting the pose. Adjust those instead of stuffing more words.
- Use reference + img2img for polish
Once you get a half decent pose:
• Take the best render.
• Run it through img2img at low denoising strength (0.25 to 0.45).
• Tighten the prompt to fix small issues like clothing, mat color, background clutter.
This keeps the pose but cleans the face, fabric, and light.
- Lighting and environment consistency for sets
If this is for a project with many pictures:
• Lock in: studio type, wall color, mat color, time of day, lens.
• Save that text as your “base prompt”.
• Only swap pose and camera angle words.
Example base:
“photo, bright yoga studio, white walls, large window, blue yoga mat on light wood floor, soft natural light, 35mm lens, high resolution”
Then vary:
“woman in tree pose”
“woman in downward dog”
“woman in seated twist”
- If you want an easier tool than full SD
Some web tools help without full ComfyUI:
• Playground AI, Clipdrop, Leonardo, etc with “pose” or “reference image” features.
• Upload a real yoga pic. Use it as pose ref. Prompt for your style and lighting.
Not as strong as full ControlNet, but better than text only.
- Simple prompt templates to try
Photoreal:
“high resolution photo of a [age] [gender] doing [pose name] on a yoga mat in a bright studio, full body visible, 35mm lens, soft natural window light, sharp focus, neutral colors, relaxed expression”
Outdoor:
“photo of a [age] [gender] in [pose name] on a yoga mat in a park, full body, golden hour sunlight, soft warm light, grass background, slight depth of field”
Negative:
“extra limbs, extra fingers, extra arms, extra legs, deformed hands, twisted joints, bent wrists, broken spine, blurry face, low quality, distorted body”
- Quick checklist before you accept an image
Look at:
• Spine line. Does it match real yoga alignment.
• Wrist angle. No extreme backward bends.
• Knee and ankle line. Front knee in lunges not collapsing inward.
• Foot contact. Both feet flat when they should be.
If two or three of those look wrong, reroll, do not try to fix it in post.
You can pair this with @mikeappsreviewer’s “pose recipe” style apps. Use those when you need fast selfies. Use pose‑controlled SD when you need full control, consistent sets, or non‑self subjects.
Short version: your poses look awkward because the model is guessing too much. You need to remove its freedom in 3 places: pose, clothing, and environment. Tools & prompts are secondary.
I’ll riff off what @mikeappsreviewer and @cacadordeestrelas already said, but from a different angle.
1. Start from real yoga photos, not from your imagination
Instead of prompting “woman doing yoga”, grab 10–20 real references:
- Real practitioners, not stock “fitness” actors
- Clear side views for standing poses, clear top views for stuff like downward dog
- Avoid crazy fisheye / influencer shots
Use these refs for everything: pose, camera angle, and lighting reference. Keep one reference set per “series” so the look stays consistent.
This is where I slightly disagree with both of them: they focus a lot on tooling. You can shove the same garbage reference sense into ControlNet or smart apps and still get awkward stuff. If your visual reference is messy, the AI copies the mess.
2. Lock clothing & body type early
Yoga anatomy breaks when the model keeps hallucinating new bodies:
- Decide 1–2 outfits per “character” (e.g. “dark high‑waisted leggings, light sports bra”).
- Keep that exact wording in every prompt. Don’t keep saying “cute outfit / pastel clothes / tight yoga clothes” in random ways.
- Also choose a narrow body type and stick to it:
- “slim but athletic build, visible muscle definition”
- or “average build, soft curves, not overly muscular”
The model stays inside that physical box, which reduces weird knees and spaghetti arms.
Prompt core for clothing/body:
“full body photo of a woman with slim athletic build, dark high waisted leggings and light beige sports bra, barefoot, on a yoga mat”
Paste that into every prompt, only change pose and background.
3. Use hard constraints on backgrounds
A lot of your bad lighting is actually bad environments. The model tries to light her for 5 different imaginary light sources at once.
Pick just 1 or 2 “sets” for your project:
Studio set:
“bright yoga studio, white walls, light wood floor, one large side window, soft natural light coming from the left”
Outdoor set:
“on a yoga mat on short green grass, overcast daylight, soft shadows, trees softly blurred in background”
Then never say extra stuff like “cozy, magical, cinematic, dramatic lighting, bokeh, neon” on top. Those adjectives fight each other. Overdescribing is a big silent killer in yoga images.
4. Use fewer adjectives, more precise nouns
Most people write prompts like a mood board. For yoga, that usually backfires.
Bad:
“highly detailed ultra realistic stunning yoga girl, delicate skin, elegant pose, dramatic lighting, beautiful studio, cinematic, volumetric light”
Better:
“photo, full body, young woman in triangle pose on blue yoga mat, bright yoga studio, white walls, light wood floor, soft natural window light from left, 35mm lens, eye level, sharp focus”
Notice:
- “photo” instead of “masterpiece”
- one lens, one viewpoint
- one light description
You can still use negative prompts for anatomy, but if your main prompt is vague, negatives won’t save it.
5. Fix the 4 most common yoga fails
When you review outputs, ignore the “vibe” first and check these:
-
Hands and wrists
- Are wrists hyper‑bent past 90 degrees in planks / downward dog? Reject.
- Fingers fused or melted? Reject.
You can prompt:
“natural wrist angle, fingers separated and relaxed”
-
Knees vs feet
- In lunges / warrior poses, is the front knee collapsing inward or going way past the toes? Dump it.
- Prompt helper:
“front knee aligned over ankle, back leg straight, feet firmly planted on mat”
-
Spine line
- Twists often look like horror movies. If ribs, shoulders, and hips look in 3 different directions, trash it.
- Prompt helper:
“long neutral spine, natural alignment, no extreme backbend”
-
Balance / grounding
- Tree pose with the “supporting” foot half floating or tilted? Looks wrong even if everything else is okay.
- Prompt helper:
“supporting foot flat on mat, visible pressure on mat, realistic shadows under feet”
You’ll save a ton of time by ruthlessly deleting bad anatomy instead of trying to “iterate” broken poses.
6. Use very small batches & keep a “golden prompt”
Instead of spamming 50 images per prompt, do this:
- Generate 4–6 images.
- Pick the best 1.
- Copy its exact prompt, settings, and seed as your “golden base.”
- For each new pose, only change the pose text:
- From: “warrior II pose”
- To: “triangle pose with top arm reaching straight up”
- Keep lighting, lens, outfit, body description identical.
You will get much more consistency. This is basically manual “fine tuning” with discipline instead of code.
7. When to use “automatic” tools vs “full control”
- If you want your own face and don’t care about ultra‑precise alignment, what @mikeappsreviewer showed with template apps is honestly the fastest path.
- If you want custom models, unusual body types, or exact textbook alignment, then what @cacadordeestrelas described with pose control is better.
But either way, the “secret sauce” is not the UI. It is:
- real yoga refs
- simple, repeatable prompts
- strict environment & outfit consistency
- brutal image culling
If your poses look wrong, 80% of the time it’s because the prompt is too poetic and not enough like what a photographer would write on a shot list. Strip the fluff and your results jump fast.