My hard drive partition suddenly changed to RAW after a restart, and now Windows says it needs to be formatted before I can use it. It has important photos and work files on it, so I’m afraid that trying to fix the RAW partition first could make data recovery harder. Should I recover files first, or is it safer to repair the partition before doing anything else?
I hit this same mess once. My first move was not repair, not format, not CHKDSK. I pulled the files off first.
A drive showing up as RAW does not mean the data vanished. Most of the time, Windows lost its grip on the file system. I saw this after a blackout, after yanking a USB drive too fast, on a disk with bad sectors, and once on a laptop where nothing obvious happened at all. If the partition used to be NTFS, Windows is failing to read what used to make sense.
And yeah, CHKDSK refusing to run fits the pattern. Windows usually throws this:
'The type of the file system is RAW. CHKDSK is not available for RAW drives.'
When I see that, I leave repair tools alone for the moment. Forcing changes onto a damaged partition is how people turn a recoverable mess into a worse one.
This is the order I would stick to:
- Stop writing anything to the drive.
- Recover your files somewhere else.
- Fix or rebuild the partition after recovery.
- Copy your files back only when the drive is stable again.
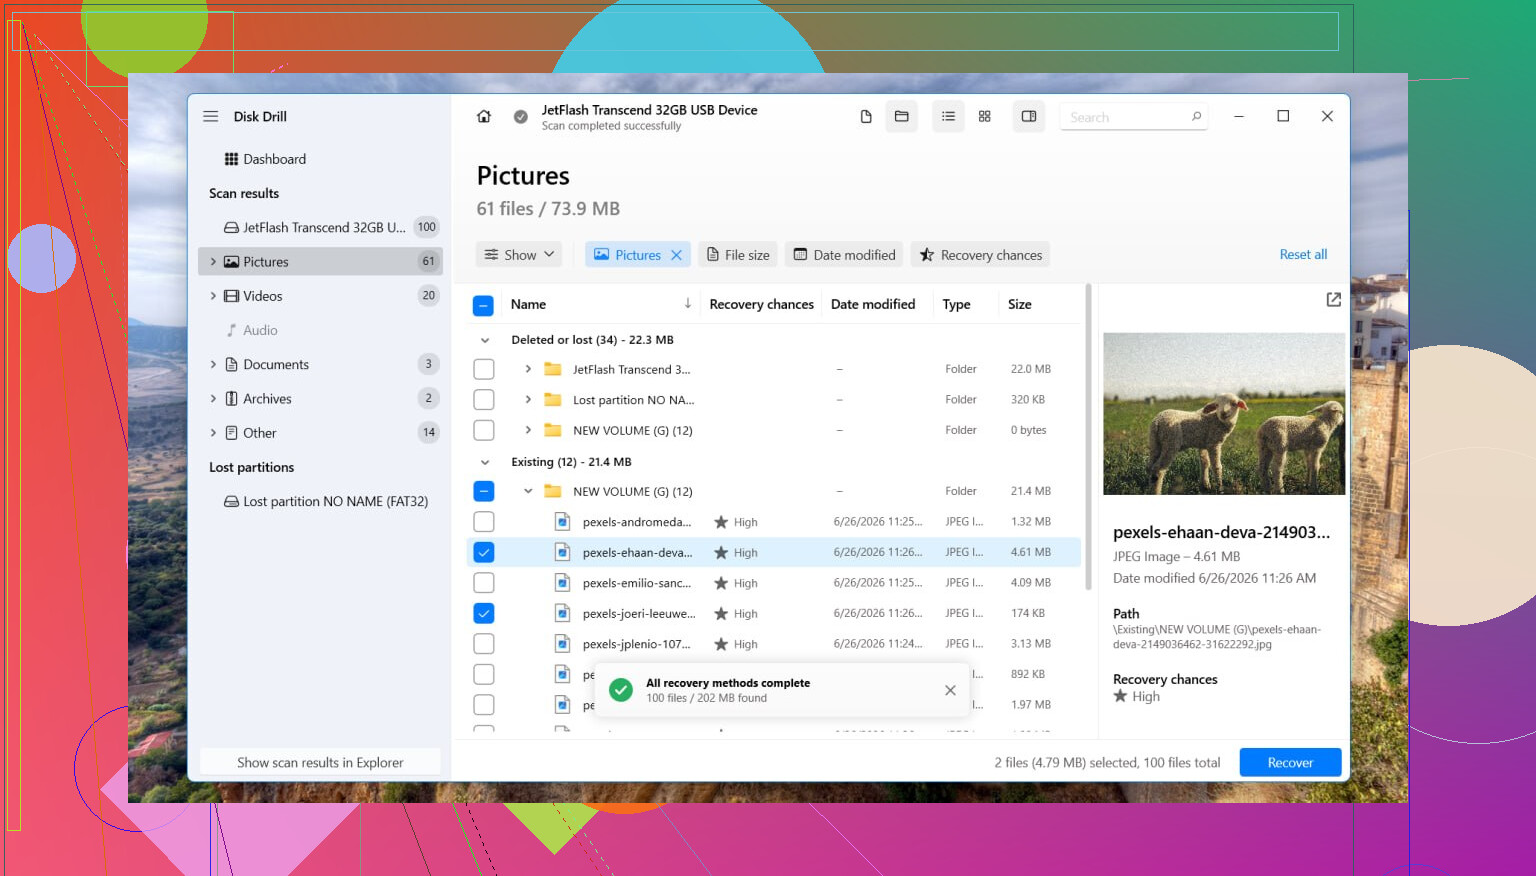
For recovery, I used Disk Drill. What worked for me was its direct scan. It does not depend on Windows being able to read the broken file system cleanly.
The steps are simple enough:
- Install Disk Drill on a different disk, not the RAW one.
- Launch it and pick the affected drive or partition.
- Click Search for Lost Data. If it asks for a scan type on an external drive, I would go with Universal Scan almost every time. I only switch to Advanced Camera Recovery when the job is fragmented video from a camera, dash cam, or drone.
- Let the scan finish. I know, it drags.
- Open Review found items and test a few previews.
- Choose what you need, hit Recover.
- Save the recovered stuff to another drive.
After you verify the recovered files open without corruption, then deal with the partition.
If you want to try restoring the original layout, TestDisk is worth trying. I have seen it recover a partition table cleanly. If it fails, or if you do not care about restoring the old structure, open Disk Management, remove the RAW partition if needed, make a New Simple Volume, do a quick format, then move the recovered files back.
Small warning from experience. If this drive is an SSD, I would not sit on it for days. TRIM support on SSDs can wipe deleted blocks in the background over time. RAW status does not always fire TRIM right away, but extra writes and pointless usage make recovery worse.
Different story if the drive keeps dropping offline, makes clicking or grinding sounds, vanishes during scans, or reconnects over and over. I would stop there. Software is not the move when the hardware is acting sick. At that point, a recovery shop is the safer route, esp if the files matter.
1 Like
Recover first. Fix later.
I mostly agree with @mikeappsreviewer on the order. Where I differ a bit is this. Before you do any repair attempt, check the drive’s health. If SMART shows pending sectors, CRC errors, or read failures, stop treating this like a file system problem only. It might be a dying drive.
My order would be:
- Check SMART with CrystalDiskInfo or the drive maker’s tool.
- If health looks bad, clone the disk first with ddrescue or a similar tool.
- Recover files from the clone or image.
- Only then try repair options.
Why I’m pushing cloning first. A RAW partition after a restart often means one of 3 things:
- damaged boot sector or MFT on NTFS
- partition table issue
- hardware read errors
On failing HDDs, repeated scans on the original drive can make things worse. On SSDs, time matters more.
If the disk is stable, use Disk Drill to scan and recover the important stuff to another drive. Start with the most important folders first if the software lets you filter by type or date. Photos, docs, project files. Verify a sample of recovered files opens.
After your data is safe, then try repair. TestDisk is fine for rebuilding partition info. If Windows keeps saying the drive must be formatted, do not accept tht prompt yet. And skip CHKDSK on RAW. A plain-English version of the issue is, Windows cannot run Check Disk because the drive’s file system shows as RAW or unreadable.
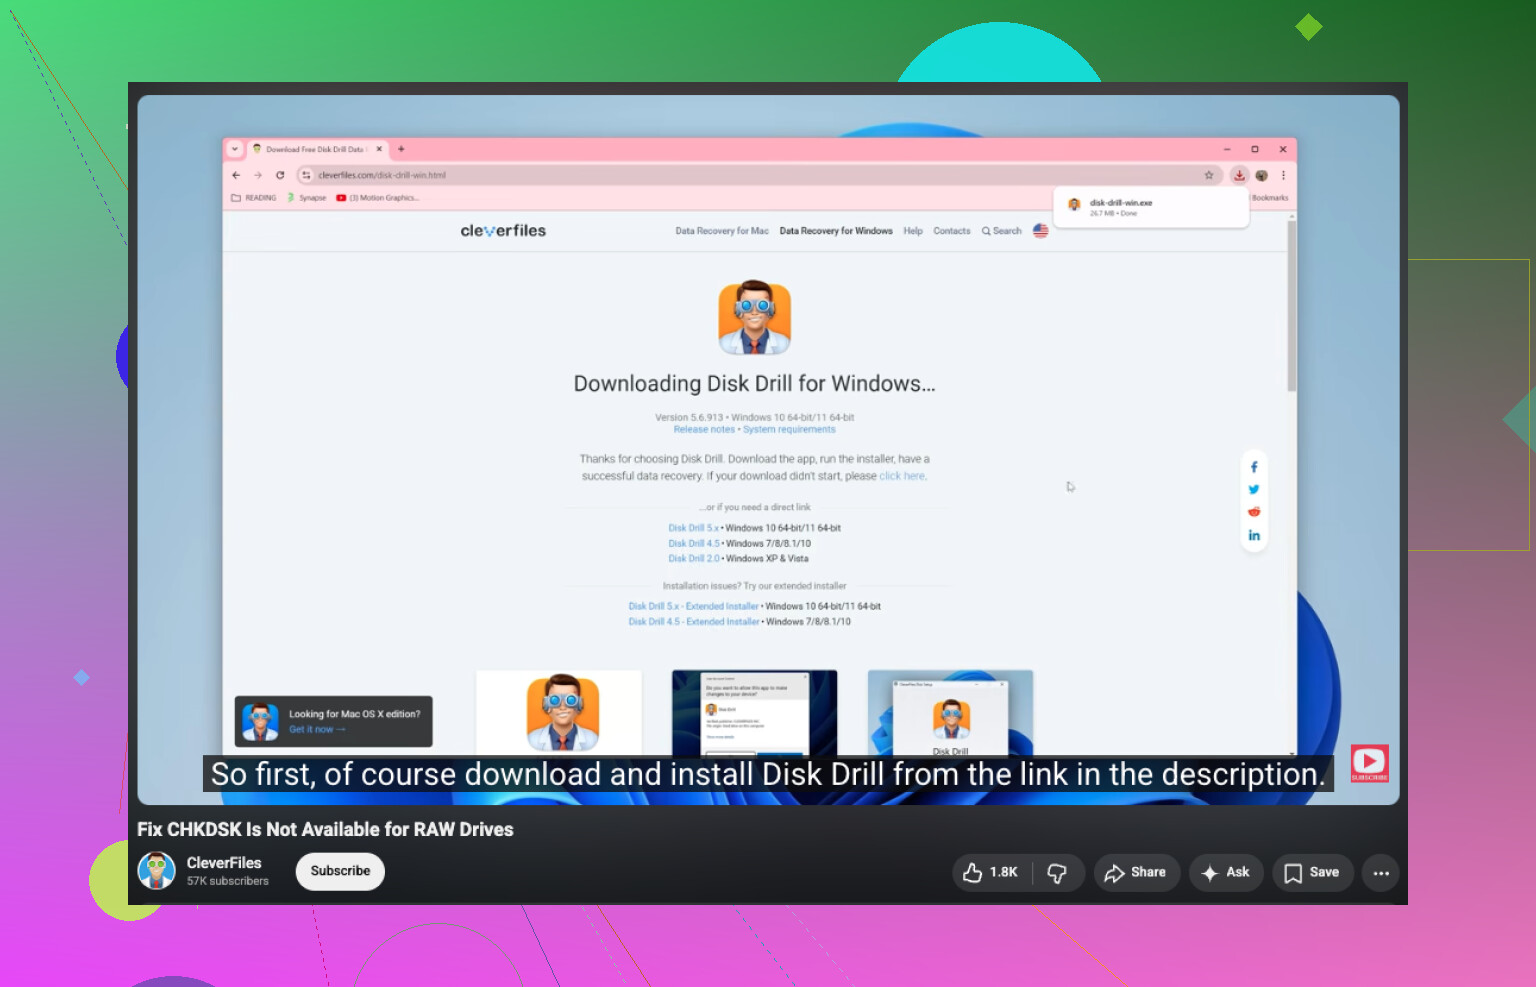
If you want a quick explainer, this helps:
how to fix CHKDSK not available for RAW drives
Short version, your files come first. Repair is step two. If the drive clicks, disconnects, or freezes the PC, stop and go pro.
Recover first, fix second. Mostly with @mikeappsreviewer and @reveurdenuit on that, but I would not jump straight into any big scan on the original disk if the drive is acting even a little weird.
My take:
- Do not format it
- Do not let Windows “initialize” or “repair” it
- Do not run write-heavy tools on the original partition yet
What I’d do before anything else is check whether the drive is physically healthy enough to read from. If it’s an external, swap cable/port/enclosure first. I’ve seen a “RAW partition” turn out to be a bad USB bridge, which is annoyingly common and way cheaper than a dead disk. If the drive works fine in another enclosure or via SATA directly, then the partition may not be the real villian here.
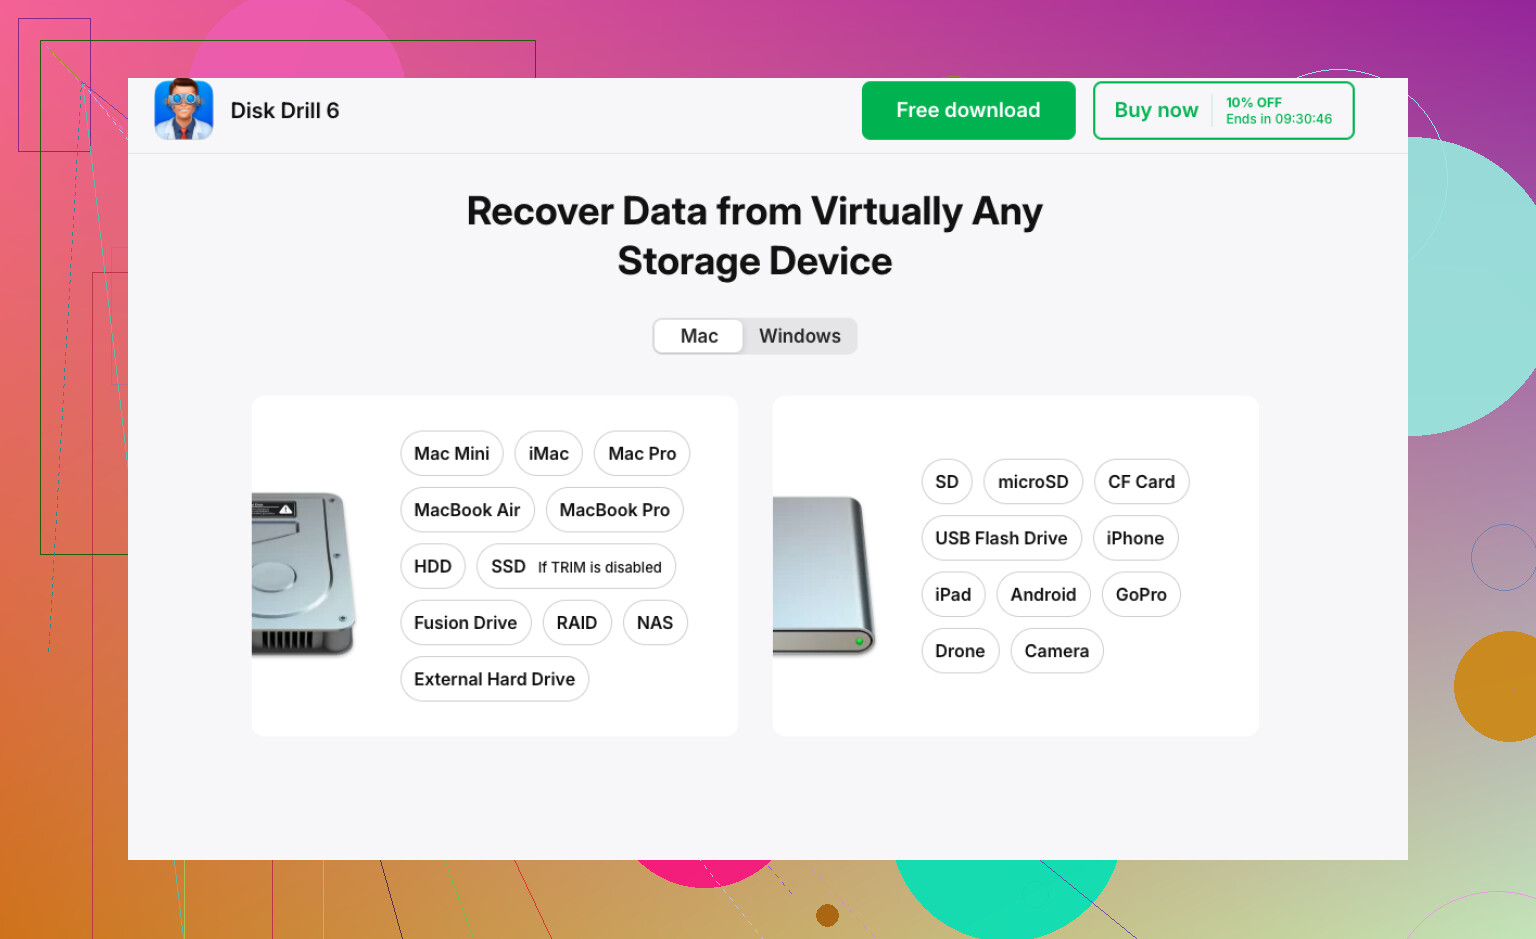
If the hardware seems stable, recover data to another disk. Disk Drill is a solid option for RAW drive data recovery because it can scan past the broken file system and pull files by structure and signatures. I’d prioritize the irreplaceable stuff first: photos, work docs, project archives, etc. Then verify a handful of recovered files actually open. People forget that part alll the time.
Only after that would I try repairing the partition metadata or reformatting. Honestly, if the files are already recovered, I usually skip “repair” and just wipe/recreate the partition, then test the drive. Faster and less drama.
One more thing: if this happened right after a restart, also check Event Viewer and SMART history. Sudden RAW can be a symptom, not the disease.
If you want more examples of what people ran into with this exact issue, this thread is worth a look:
real-world fixes for an external hard drive showing as RAW
Recover first, but I’ll push back on one part of the usual advice: if the drive is perfectly quiet and SMART is clean, you do not always need to jump straight to a full disk clone before doing anything else. Cloning is safest, sure, but on very large drives with limited spare storage, sometimes a targeted recovery of the irreplaceable folders is the more practical first move.
A RAW partition usually means Windows can no longer interpret the file system metadata, not that every file is gone. So the real danger is writes, not reads. That means:
- no format
- no CHKDSK
- no “scan and fix” prompt
- no copying new stuff onto that disk
I agree with @reveurdenuit, @caminantenocturno, and @mikeappsreviewer on the core point: data before repair. Where I differ is after recovery. I usually do not bother “repairing” a once-RAW partition for long-term use. If it flipped to RAW without an obvious reason, I treat the file system as untrusted and rebuild it from scratch after testing the hardware.
One practical thing people skip: check the partition size in Disk Management. If the size suddenly looks wrong, or shows unallocated space where there should not be any, that leans more toward partition table damage than simple NTFS corruption. Different failure, same rule: recover first.
About Disk Drill since it was mentioned already:
Pros
- easy to use
- good preview support for photos and docs
- can find files even when Windows sees RAW
- decent filtering, which helps if you want only work files or photos first
Cons
- deep scans can take forever
- recovered filenames/folders may not always be perfect if metadata is badly damaged
- you need another drive with enough free space
- not the tool I’d rely on if the disk is physically failing hard
So my version is:
- Check whether the drive itself is stable.
- If stable, recover the most important files to another disk with something like Disk Drill.
- Open and verify recovered samples.
- Then wipe, repartition, full test, and only reuse the drive if it passes.
If the disk disappears, clicks, slows to a crawl, or throws I/O errors, stop treating it like a normal RAW issue. That becomes a hardware case fast.