I accidentally deleted important photos from my SD card while moving files to my computer, and now I can’t find them anywhere. These pictures are really important, and I need help figuring out the best way to recover deleted photos from an SD card before anything gets overwritten.
I ran into this once and the worst part was the first minute, when I realized the card had gone empty. So, right away, stop writing anything to it. Take the SD card out of your camera or phone and leave it alone.
Deleted photos usually are not erased on the spot. The card marks the space as available, and your next photos sit on top of the old data. If you kept shooting, recovery drops fast. If the card stayed untouched, your odds are still good.
Before you install anything, do the boring checks.
- If the deletion happened through a Mac, look in Trash.
- If it happened on Android, check Google Photos trash and Samsung Gallery recycle bin. Those often keep stuff for 30 to 60 days.
- Look for cloud backup copies too.
If none of that turns up anything, I’d go with recovery software.
One mistake I made the first time was trying to recover through the phone connection. Bad idea. A phone or camera over USB often hides the raw card layout, so recovery apps see less than you think. A lot of mobile apps are worse. They pull thumbnails, or they want root access, and you end up with tiny blurry previews instead of the full photo. Use a USB SD card reader and connect the card straight to a Mac or Windows PC. It gives the software proper access to the card.
There are too many recovery tools, and half the lists online feel copied from each other. PhotoRec is free and it works, but I found it annoying for big photo sets. It uses a text interface, and the recovered files often come back with generic names and no folder order. If you have thousands of shots, sorting turns into a mess.
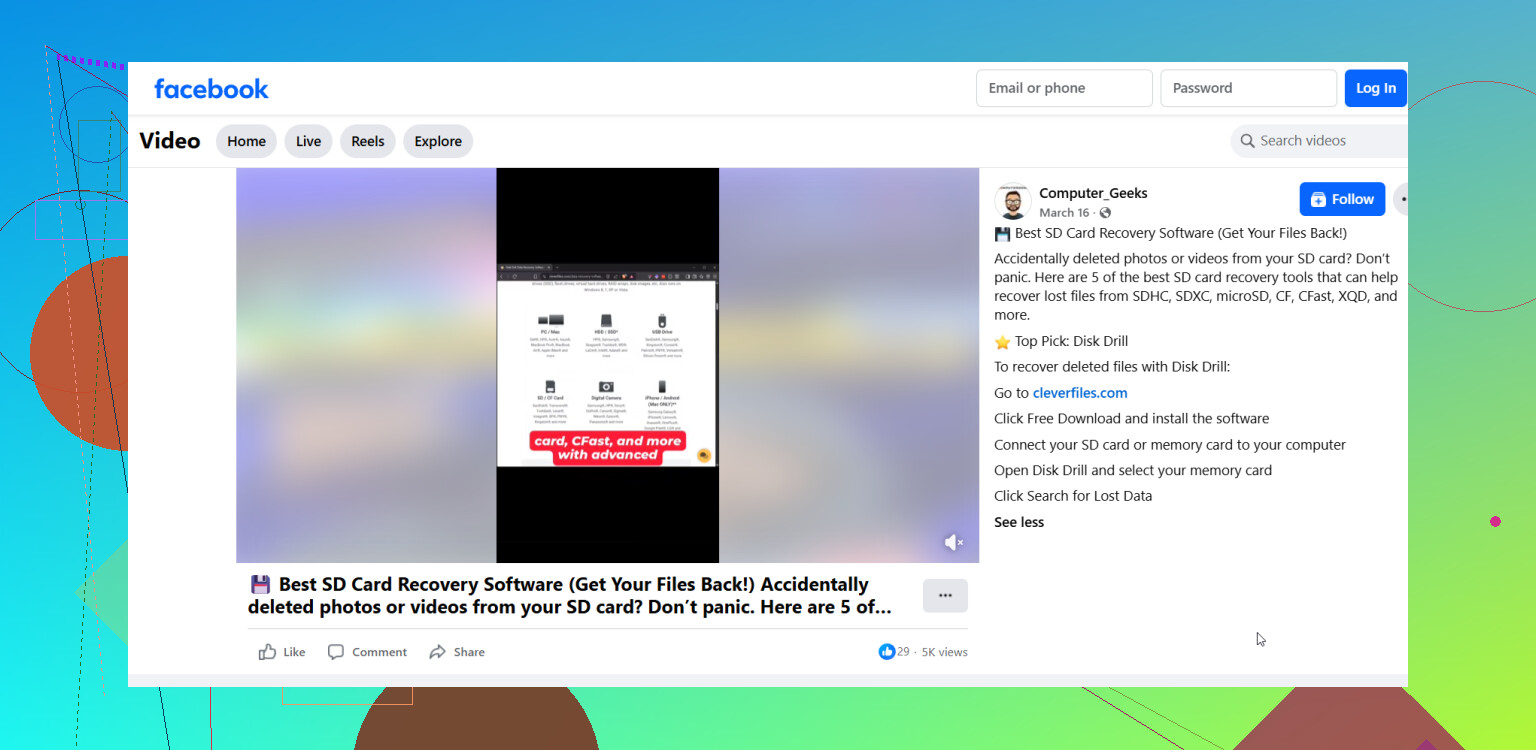
I had better luck with Disk Drill. What mattered to me was simple stuff. It read common camera formats, including RAW files like CR2 and NEF. It also let me preview files before recovery, which saved time because I could tell which images were intact.
What I did looked like this.
- Install Disk Drill on your computer. On a Mac, give it Full Disk Access in Privacy settings or the scan may come up half-broken.
- Put the SD card in a card reader, connect it, then open the app. The card should show in the drive list.
- Select the card and start the lost data scan. Universal Scan worked fine for me. It checks recent deletions first, then goes deeper by looking for photo file signatures.
- Wait. You can browse mid-scan, though I usually let it finish so I’m not second-guessing every file.
- Open the Pictures section when the scan ends. Filter by type if you want. Use the preview icon on a file before restoring it. This part matters most. If the photo opens cleanly in preview, it’s usually recoverable. If it won’t open, or it shows corruption, don’t count on it.
- Select the photos you want and hit Recover.
When it asks where to save the recovered files, do not send them back to the same SD card. Save them to your computer’s internal drive or a different external drive. Writing recovered files onto the same card is how people wreck the remaining recoverable data. I learned this the hard way years ago, and yeah, it sucked.
After recovery, open a handful of photos and make sure they’re fine. Once you know your files are safe, put the card back in the camera and format it there before using it again.
I’d start there. If the card hasn’t been used since the deletion, you’ve still got a decent shot.
3 Likes
First, stop using the SD card. Every new write cuts your recovery odds.
I agree with @mikeappsreviewer on the big part, use a card reader, not the phone or camera cable. I slightly disagree on one thing though. I would not format the card right after recovery unless you test it first in another device too. If the card started failing, formatting hides the real issue and you end up trusting bad storage again.
What I’d do next:
- Check whether the photos were copied to your computer in a different folder, not moved cleanly. Search by file type, JPG, PNG, CR2, NEF, ARW.
- On Windows, look at hidden files and the Recycle Bin. On Mac, run a Spotlight search for the file extensions.
- If nothing shows up, make a byte-for-byte image of the SD card first if the photos matter a lot. Tools like USB Image Tool or ddrescue help. This gives you one safe working copy. Pros do this for a reason.
Then scan the card image, or the card itself, with Disk Drill. I like it because preview helps sort full photos from broken junk fast. PhotoRec finds a lot, but the file names turn into a mess. If your set is large, taht gets old fast.
Two more things people miss:
- If files were ‘moved’ and the process failed, some photos might still be on the source device, not the card.
- If the card is fake or dying, recovery software may show lots of files with corruption. In that case, image the card first, dont keep rescanning it.
If you want a quick explainer on top recovery tools, this is decent:
best data recovery software for deleted photos and SD cards
Big thing I’d add to what @mikeappsreviewer and @nachtschatten said: check whether the “move” actually created a partial transfer log or temp cache on the computer. A lot of people jump straight to recovery tools and forget Windows Photos, Lightroom import folders, Finder’s Recents, or even the Downloads/Desktop folders where the pics may have landed with weird names. I’ve seen files show up as .CHK or in a half-finished import folder after a transfer hiccup. Kinda dumb, but it happens.
Also, if the SD card starts disconnecting, asking to be repaired, or reads super slow, stop scanning it over and over. That’s where I slightly disagree with the “just scan now” approach. Repeated reads on a dying card can make things worse. In that case, clone/image first, then work from the copy.
If the card is stable, Disk Drill is honestly one of the easier options because you can preview recoverable photos before saving them, which matters a lot with deleted SD card photo recovery. Saves time, less guesswork. Just recover to a different drive, not back onto the card. Obvious, yet people still do it lol.
Also worth reading: how to recover deleted photos from an SD card step by step
One more thing, if these are super important, don’t “fix” the card yet, don’t format it, and defintely don’t take more photos on it. That’s how recoverable turns into gone.