I accidentally emptied the Trash on my Mac and deleted important files I still need for work. I’m looking for the best way to recover deleted Trash files on Mac after emptying it, including whether Time Machine, iCloud, or recovery software might help.
I did this once on a MacBook and the worst move was keeping it on and poking around. If you emptied the Trash by mistake, stop using the machine right now. No downloads. No app installs. Don’t save files. Don’t even shuffle stuff around if you can avoid it.
Reason is simple. Emptying Trash usually removes the file map, not the file bits sitting on storage. macOS marks the space as free. Your old data often stays there until new writes land on top of it. So every minute you keep using the Mac raises the odds of losing chunks for good.
There’s a second problem people miss. Newer MacBooks use SSDs, and SSDs do cleanup in the background through TRIM. After deletion, the drive may start clearing those blocks on its own so future writes stay fast. On some systems this happens fast. You’re racing the drive, not only macOS.
Most people I know never set up backups. Fine. Start with the route I’d try first.
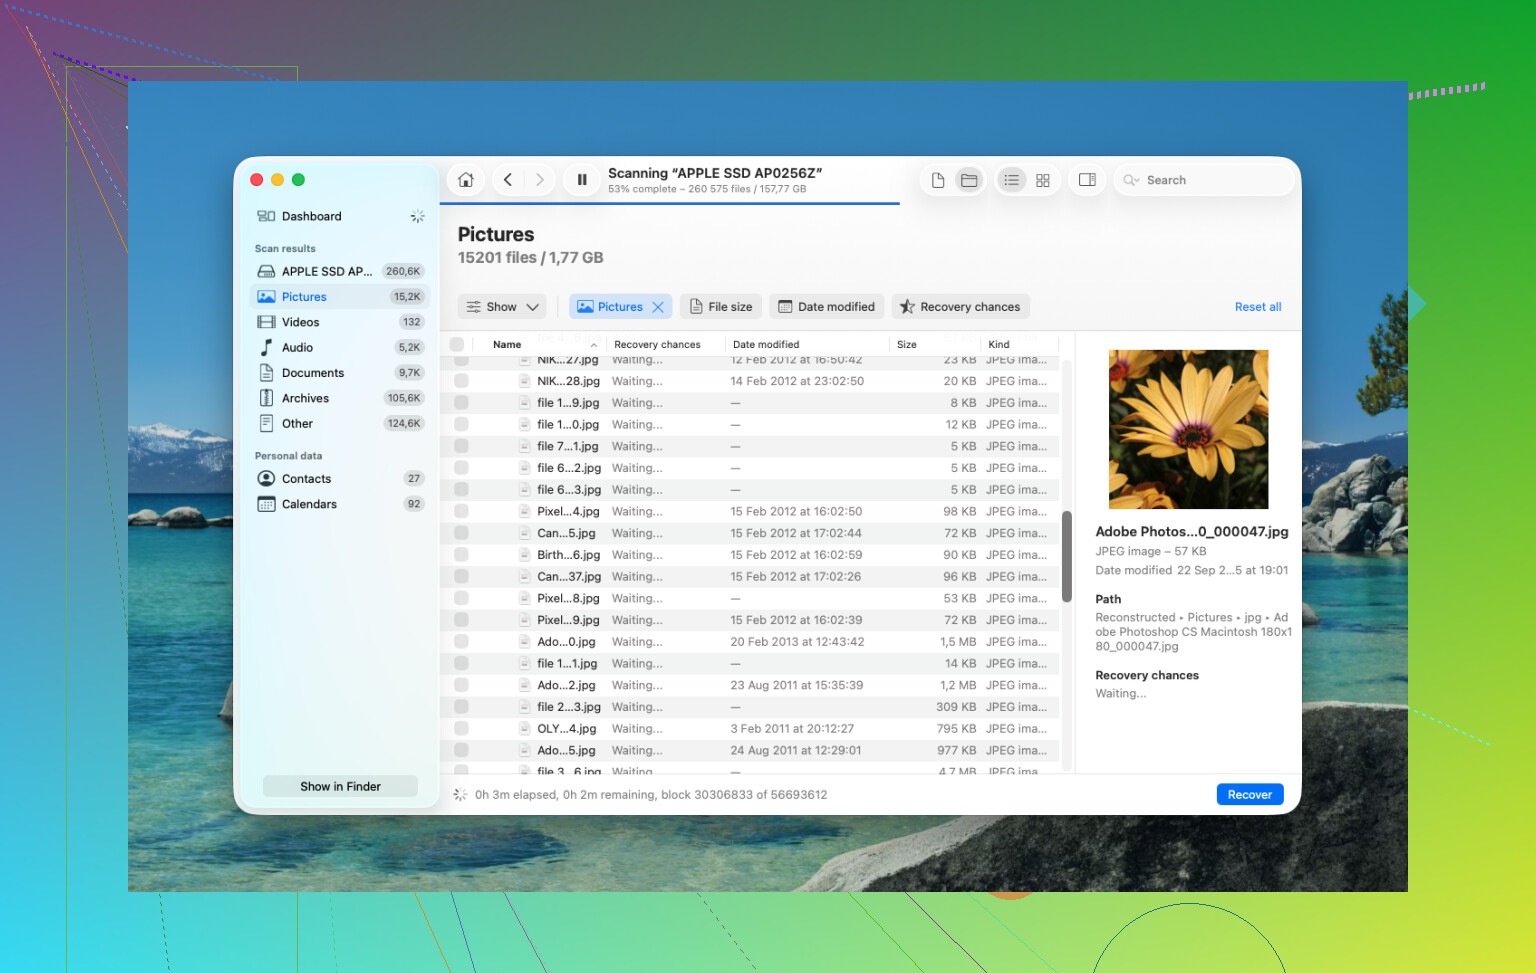
Run recovery software fast, and do it without writing to the internal drive. I’ve had the best results with Disk Drill. On newer Macs, especially Apple silicon models like M1, M2, M3, M4, plus machines with the T2 chip, the internal storage is locked down and encrypted hard enough that a lot of random recovery apps fall over. Disk Drill tends to handle those systems better.
- Do not install it on the MacBook you’re trying to save. I know this sounds picky, but installs write data. You might overwrite the same files you want back. Use another computer. Download Disk Drill there, put it on a USB drive, then launch from external media.
- Make a full disk image first. This part gets skipped way too often. Disk Drill lets you clone the drive bit for bit to an external disk. Do this before scanning if you have the space. If recovery goes sideways, or you want a second pass later, you work from the image instead of touching the original drive again. It’s the closest thing to a safety copy in a bad spot.
- Run a Universal Scan. Point it at the internal drive, or better, the image you made. Let it crawl through raw sectors and rebuild whatever it finds.
- Check previews before paying. One thing I liked here, the scan is free and the preview is useful. You can inspect photos, docs, and videos first and see whether they look intact or broken before spending money on recovery.
- Restore recovered files to external storage. Use a USB drive, SSD, anything external. Don’t write recovered data back to the MacBook’s internal drive.
After that, I’d check the boring places people forget.
Time Machine
If you ever turned it on, open Time Machine and go to the folder where the files used to live. macOS sometimes keeps local snapshots for around a day even when the backup drive isn’t connected. I’ve seen this save people who thought they had no backup at all.
Cloud accounts
If those files were synced with iCloud Drive, Dropbox, or Google Drive, check from another device first. Better yet, keep the Mac offline while you do it. Each service usually has its own deleted-items area, often with a 30-day window, separate from your Mac’s Trash.
Photos and Notes
If the missing stuff was pictures or notes, open those apps and check their own Recently Deleted section. Apple keeps items there for roughly 30 to 40 days in many cases, even if you already emptied the system Trash. Weird setup, but sometimes it saves you.
If none of this works, the last stop is a recovery lab. Those places use hardware tools and controlled workspaces to pull data without relying on normal macOS access. It’s not cheap. I’ve seen prices from about $300 up to $3,000, sometimes more. For family photos, tax records, work stuff with no copy anywhere else, it might be worth it. For random downloads, nah.
6 Likes
Start with what got deleted, because the recovery path changes.
If the files lived in iCloud Drive, Dropbox, OneDrive, or Google Drive, check the service’s web trash first. Do it from a browser on another device if you have one. Those deleted-file bins often keep data for 30 days, sometimes longer on paid plans. This is faster than raw disk recovery and keeps file names and folders intact.
If the files were mail attachments, Pages docs, or app-specific items, check inside the app too. A lot of Mac apps keep their own recent history, autosave versions, or deleted sections. In Pages, Numbers, and Keynote, file versions sometimes survive if the doc was saved before. In Preview, edited PDFs sometimes sit in temporary version storage for a bit. Not garunteed, but worth 2 minutes.
I slightly disagree with @mikeappsreviewer on one point. Telling people to freeze instantly is solid for old spinning drives. On modern Macs with SSDs, the bigger issue is whether TRIM already wiped the freed blocks. If it did, classic undelete gets ugly fast. So I’d prioritize backup-based recovery first, then try Disk Drill if no backup exists. It’s still one of the better Mac file recovery tools, but expectations matter on newer SSD Macs.
A few places people skip:
- Finder, Recents. Sometimes the file still exists in a synced or moved location.
- Terminal history and app temp folders, if the file was exported today.
- Time Machine local snapshots through tmutil listlocalsnapshots /, if you’re comfortable in Terminal.
- iCloud.com, under Drive, Photos, Notes, and Data Recovery.
- Shared work apps like Slack, Teams, Notion, Figma, Adobe Cloud. The file may still be in the service, not on your Mac.
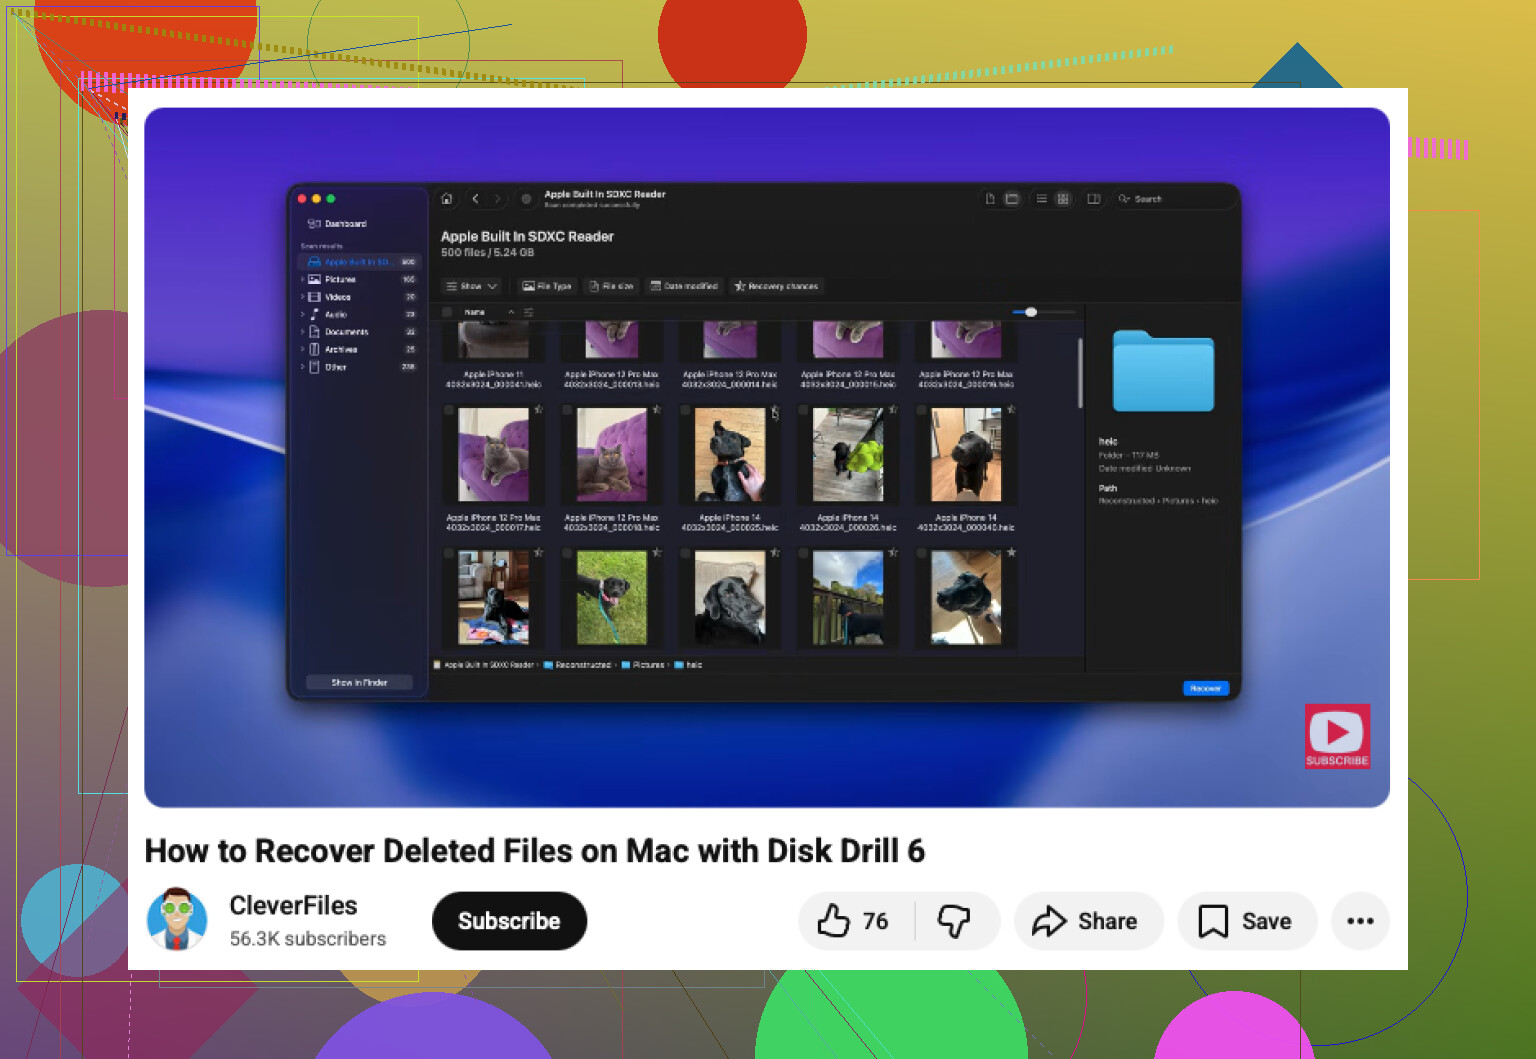
If you want a walkthrough, this Mac file recovery video guide after emptying Trash is easier to follow than random forum posts.
If the files are worth real money, stop trying stuff after one clean pass and use a recovery lab. Repeated scans and installs make a bad sitution worse.
Emptying Trash on a Mac is not always the end, but I’d split this into 2 questions:
- Was the file actually deleted from local storage?
- Or was it part of a synced/cloud app that has its own recovery path?
@mikeappsreviewer and @boswandelaar already covered the obvious heavy hitters, so here’s the part I’d add: check document version history and app-side recovery before doing full raw recovery. A lot of work files are not just “files in Finder” anymore.
Things I’d check first:
- iWork / Microsoft 365 / Adobe apps: some keep autosaved versions or cloud history even after the Finder file is gone.
- Finder > Recents: not because it restores anything, but because it can reveal the file was moved/duplicated/synced elsewhere.
- iCloud.com Data Recovery: not just iCloud Drive. Also look at Contacts, Calendars, Bookmarks, and app-specific recovery if relevant.
- Email: if it was an attachment, the fastest “recovery” might be re-downloading it from sent mail or a thread.
- Collab apps: Slack, Teams, Notion, Figma, Google Workspace, Adobe Cloud. People forget the file may still exist on the service.
I slightly disagree with the “always scan immediately” mindset. On newer SSD Macs, if TRIM has already done its thing, undelete tools can return partial junk. So if the files are business-critical, I’d check backups, cloud history, and app versioning first, then run Disk Drill as the best practical Mac data recovery option if those fail.
Also, if you want a quick visual walkthrough, this is more useful than a lot of rambly posts:
easy Mac Trash file recovery walkthrough
One more thing people mess up: if you recover anything, restore it to an external drive, not back onto the same Mac storage. Kinda obvious, but in a panic people do the worst possible stuff lol.
If this was deleted from an external HDD instead of the internal SSD, your odds are usualy much better.

One angle missing from what @boswandelaar, @viajeroceleste, and @mikeappsreviewer covered: saved states and package contents.
A lot of Mac work files are bundles, not simple files. Keynote, GarageBand, iMovie libraries, some Affinity and Adobe project formats can sometimes leave usable bits behind inside cache folders or app containers even when the main file was trashed. If the deleted item was a project file, check:
~/Library/Containers/~/Library/Application Support/~/Library/Autosave Information/~/Library/Caches/
Use Finder > Go > Go to Folder. Look for the app’s folder name, then sort by date modified. I would do this before a deep scan if the file was edited very recently.
I also slightly disagree with the “stop instantly no matter what” advice in one case: if your Mac is already syncing to a cloud service and you panic-disconnect too late, sometimes letting it finish can preserve a server-side version history you can restore later. Not always, but for cloud-native docs it can help more than hurt.
If none of that turns up anything, then yes, Disk Drill is a reasonable next move.
Pros of Disk Drill
- Good Mac support
- Easy preview of recoverable files
- Can scan images and external drives
- Friendly enough for non-tech users
Cons of Disk Drill
- SSD/TRIM limits still apply
- Recovered filenames/folders may be messy
- Full recovery needs paid version
- Deep scans can take forever
Practical tip: if the deleted file was a video, audio project, or design asset, search the Mac for its filename stem or extension, not just the full name. Sometimes exports, temp renders, or duplicate saves survive under altered names.