I took some pictures on my iPhone with Live Photo turned on, and now I want to keep the still image but remove the Live effect. I don’t want to delete the photo or lose the original picture quality. I need help figuring out the steps to turn off Live Photo on an existing photo without removing the picture from my iPhone.
Live Photos looked fine when I first left them on. Later, they turned into clutter. Extra motion, extra storage, extra cleanup. I ran into the same mess when my library got too big.
If your goal is to wipe them out and you do not care about keeping the image itself, the direct route is in Photos.
Photos > Media Types > Live Photos
Pick the ones you want gone, delete them, then clear Recently Deleted too. If you skip that last part, iPhone keeps hanging onto the files for 30 days, so your storage number barely moves at first. I missed this once and thought the phone was lying to me.
If you want to keep the picture and lose the motion part, it takes a different path. You need a still version first. After that, you remove the original Live Photo. You can do it one by one in the Photos app, which is fine for ten photos. It gets old fast at 200. I tried the manual route once. Bad idea, took forever.
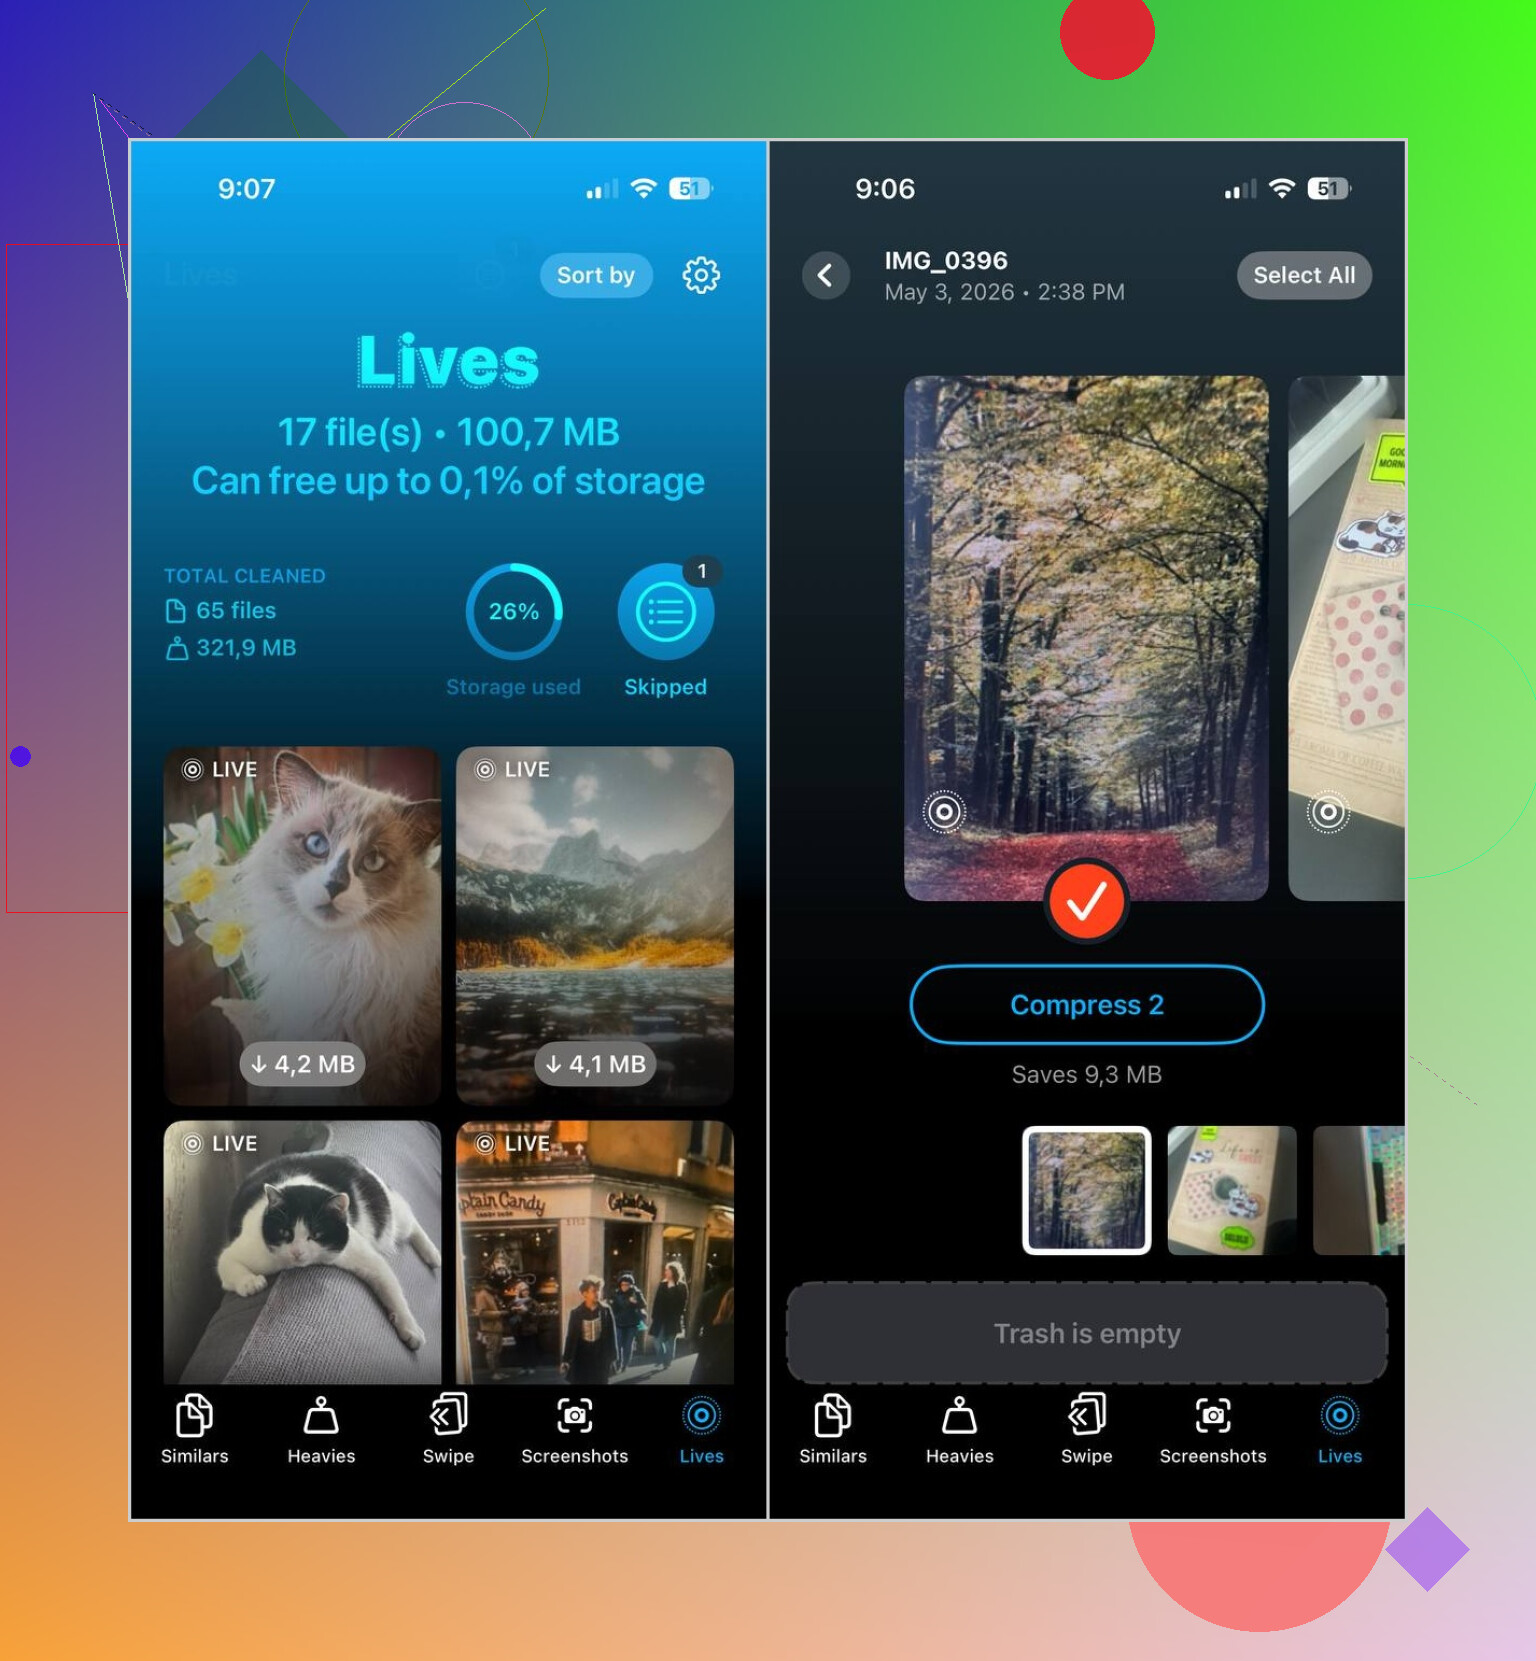
What worked better for me was Clever Cleaner. Its Lives section pulls up all Live Photos on the phone in one place. You can sort by date or file size, mark a few, mark all, then convert them into still shots in bulk. After it finishes, it asks what to do with the original Live files, which I liked because nothing vanished behind my back.
Why I stuck with it:
- It handled big batches without me tapping through each photo
- It showed the storage savings before I changed anything
- I got to review the set before deleting stuff
- It kept the still photos and removed the motion versions cleanly
- It saved a dumb amount of time
The app also groups other cleanup jobs into separate sections:
- Similars, for duplicate and near-duplicate photos
- Heavies, for large videos and video compression
- Screenshots, for clearing screenshot piles
- Swipe, for manual keep-or-delete review
My short version:
- If you want them gone, delete the Live Photos outright
- If you want the image, make still copies first, then remove the Live originals
- If your library is huge, Clever Cleaner makes the bulk part way less painful

1 Like
You do not need to delete the photo.
Open the photo in Photos. Tap Edit. Tap the LIVE label at the top. Tap Live again to turn the effect off. Tap Done.
That keeps the same image, same spot in your library, and removes the motion effect from view. For most people, this is the cleanest fix. No duplicate file mess.
One small disagreement with @mikeappsreviewer. I would not start by making still copies unless you want separate versions. iPhone already lets you disable Live on the existing photo. Less cleanup, less confusion.
If you want to keep the key frame but make sure it looks right first, do this before turning Live off:
- Open photo
- Tap Edit
- Scrub through frames
- Tap Make Key Photo on the frame you want
- Turn off Live
- Tap Done
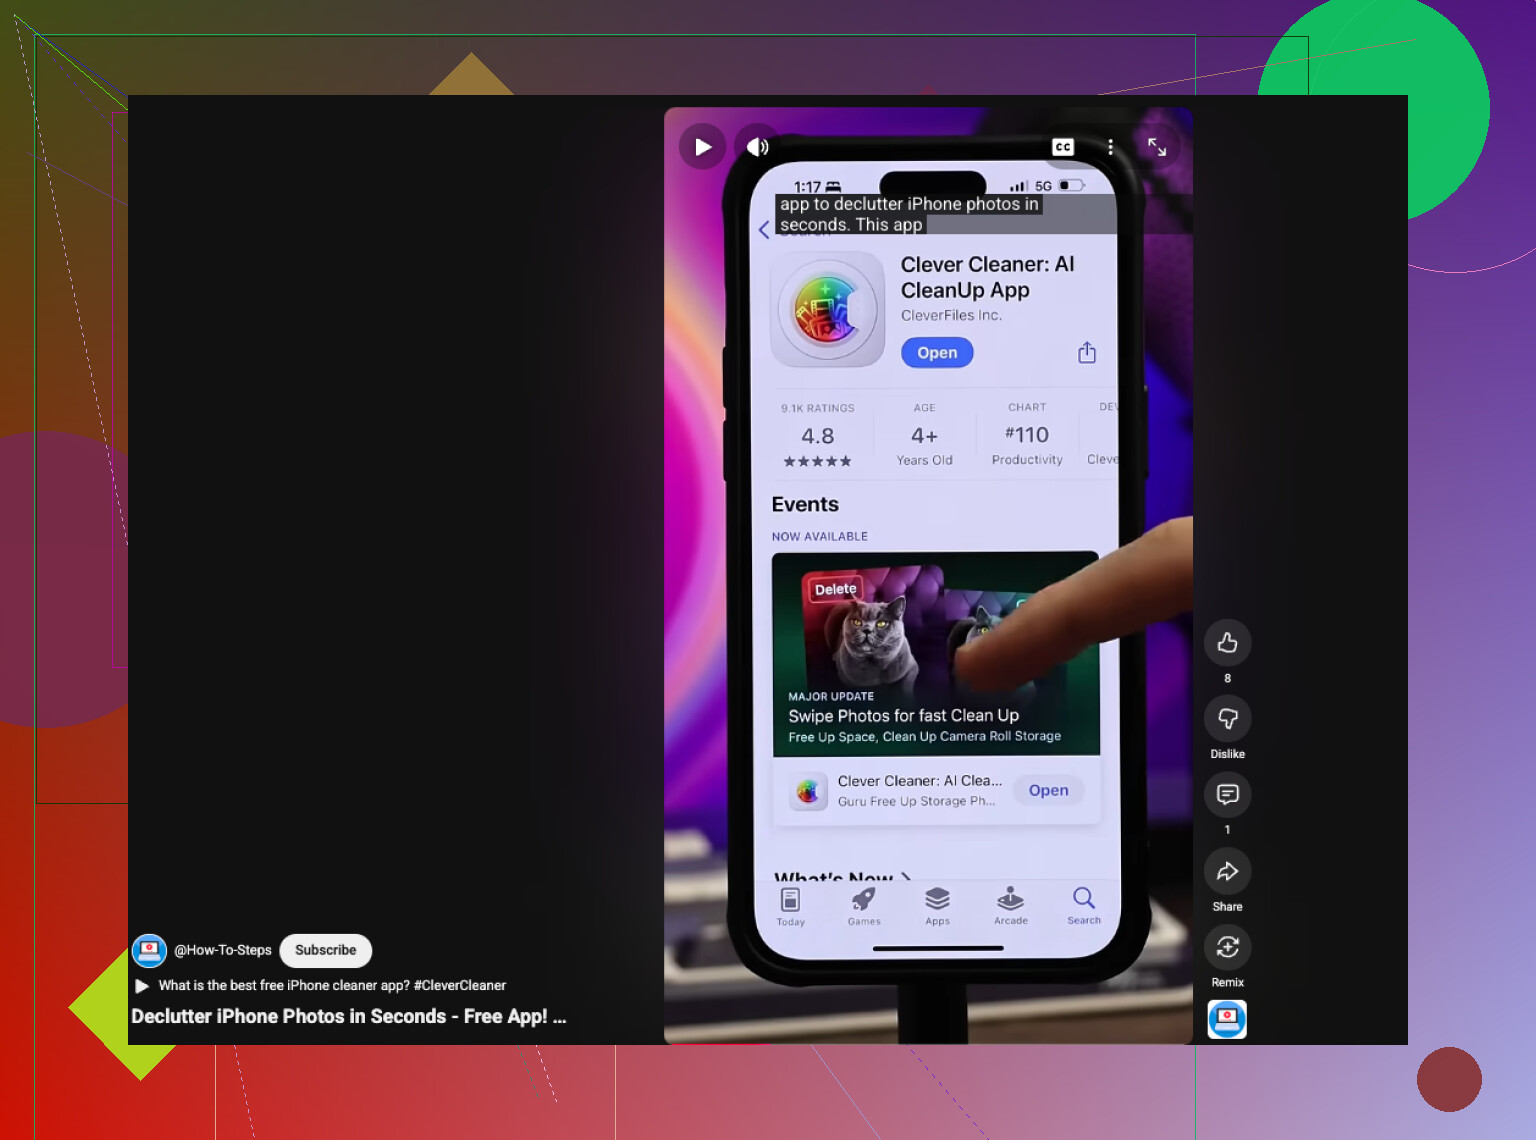
If you have tons of them, batch control is where Clever Cleaner helps more. It is a solid iPhone cleaner app to declutter photos, Live Photos, and other space hogs fast. Also, this short video on cleaning up Live Photos and freeing iPhone storage shows the idea quick.
One catch. If you sync to iCloud Photos, the change hits all devices. So check a couple first if youre nervous.
You can remove the Live effect without deleting the picture, and without making a lower-quality copy. That’s the part I’d stress most, because people overcomplicate this.
What @chasseurdetoiles said is basically the cleanest approach for a single photo, but I slightly disagree with @mikeappsreviewer on one thing: you usually do not need to create a separate still image first unless you want two versions. If all you want is the same photo minus the motion, just edit the existing one.
A couple things worth knowing that haven’t been said as clearly:
- Turning off Live on a photo keeps it in your library
- It does not downscale the image
- You can still revert later in many cases, because Photos often keeps the original edit history
- If you use Shared Albums or export the image, that’s where format weirdness sometimes shows up, not in your main library
So my advice is this:
- For a few photos: use the built-in Photos edit option
- For a huge batch: use something like Clever Cleaner to find all Live Photos faster and manage them in bulk
The real annoyance is that Apple makes bulk handling kinda clunky. That’s where an app can help, esp if your camera roll is a war zone. If you want a user perspective before installing anything, this is a decent read on using Clever Cleaner to clean up Live Photos and free iPhone storage.
One more small tip: if the Live Photo picked a bad frame, set the Key Photo first, then disable Live. Saves a lot of “why does this pic look worse now?” moments. Apple loves hiding the useful stuff for no reason lol.
I’d actually push back a bit on the “make a still copy first” idea unless you want two separate photos. That creates extra clutter.
Best extra tip: if you want to save storage too, check whether the photo is in a Shared Album, wallpaper set, or used in Memories. Sometimes the Live behavior seems to “stick” in those places even after editing, which makes people think the change failed.
Also, if you shoot in bursts of Live Photos, review one edited image after a few minutes. iCloud syncing can lag and briefly show the old state on another device.
On the app side, Clever Cleaner is useful more for bulk review than for single-photo fixes.
Pros:
- easier batch handling
- surfaces Live Photos fast
- can help spot big storage hogs
Cons:
- overkill for just a few images
- another app permission to grant
- you still need to double-check before deleting originals
@chasseurdetoiles and @caminantenocturno are right about using the built-in edit path first. @mikeappsreviewer is more useful if your library is massive and messy.