I accidentally emptied the Trash on my Mac and realized some important files were on an HFS/HFS+ drive. I haven’t saved much to the drive since, but I’m worried the deleted data may be overwritten. What are the safest HFS recovery options or tools to try before I make things worse?
I’d be careful with an HFS or HFS+ drive that suddenly goes unreadable. Recovery is often still possible, especially if the files were deleted, the Trash was emptied, the drive was quick-formatted, or macOS messed something up after an update. But the part that usually hurts people is running random “repair” steps before they’ve copied the data somewhere safe.
First thing: stop writing anything to that drive. Don’t save files to it, don’t reformat it, and don’t run First Aid yet if the files matter. Deleted data can still be sitting there, but every new write makes it more likely that old file contents get overwritten.
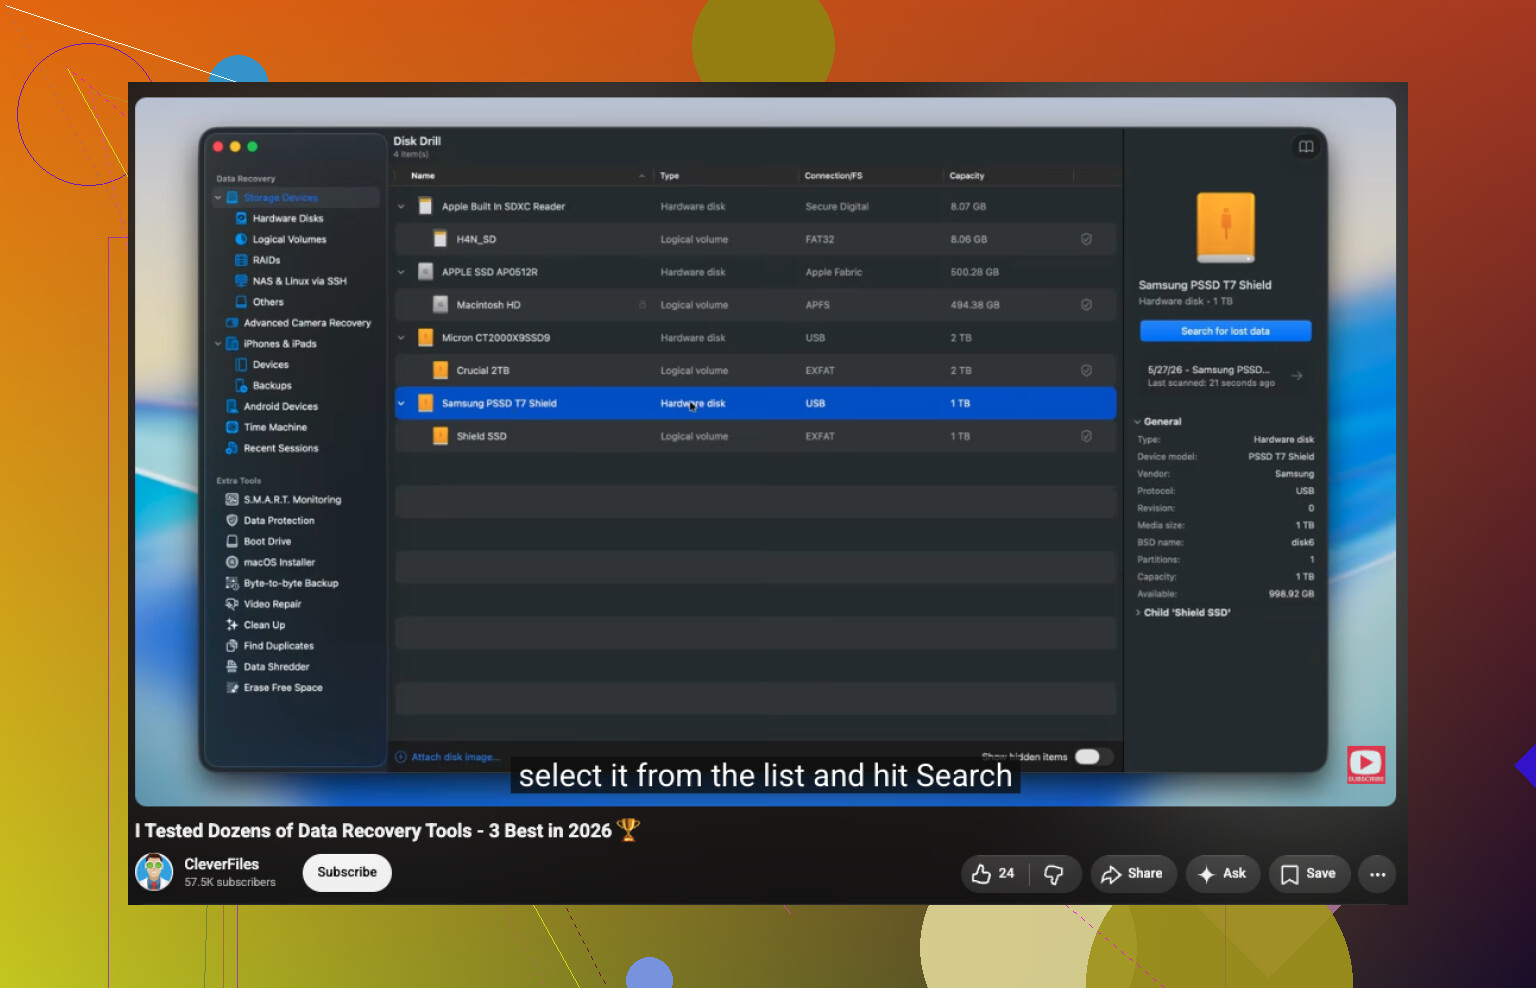
After that, check whether the drive itself is failing. For an HDD, look at the SMART status with something like Disk Drill or DriveDx. If you see a lot of bad sectors or serious SMART warnings, don’t treat it like a normal software problem. If it’s still readable, make a disk image first and scan the image instead of hammering the original drive over and over.
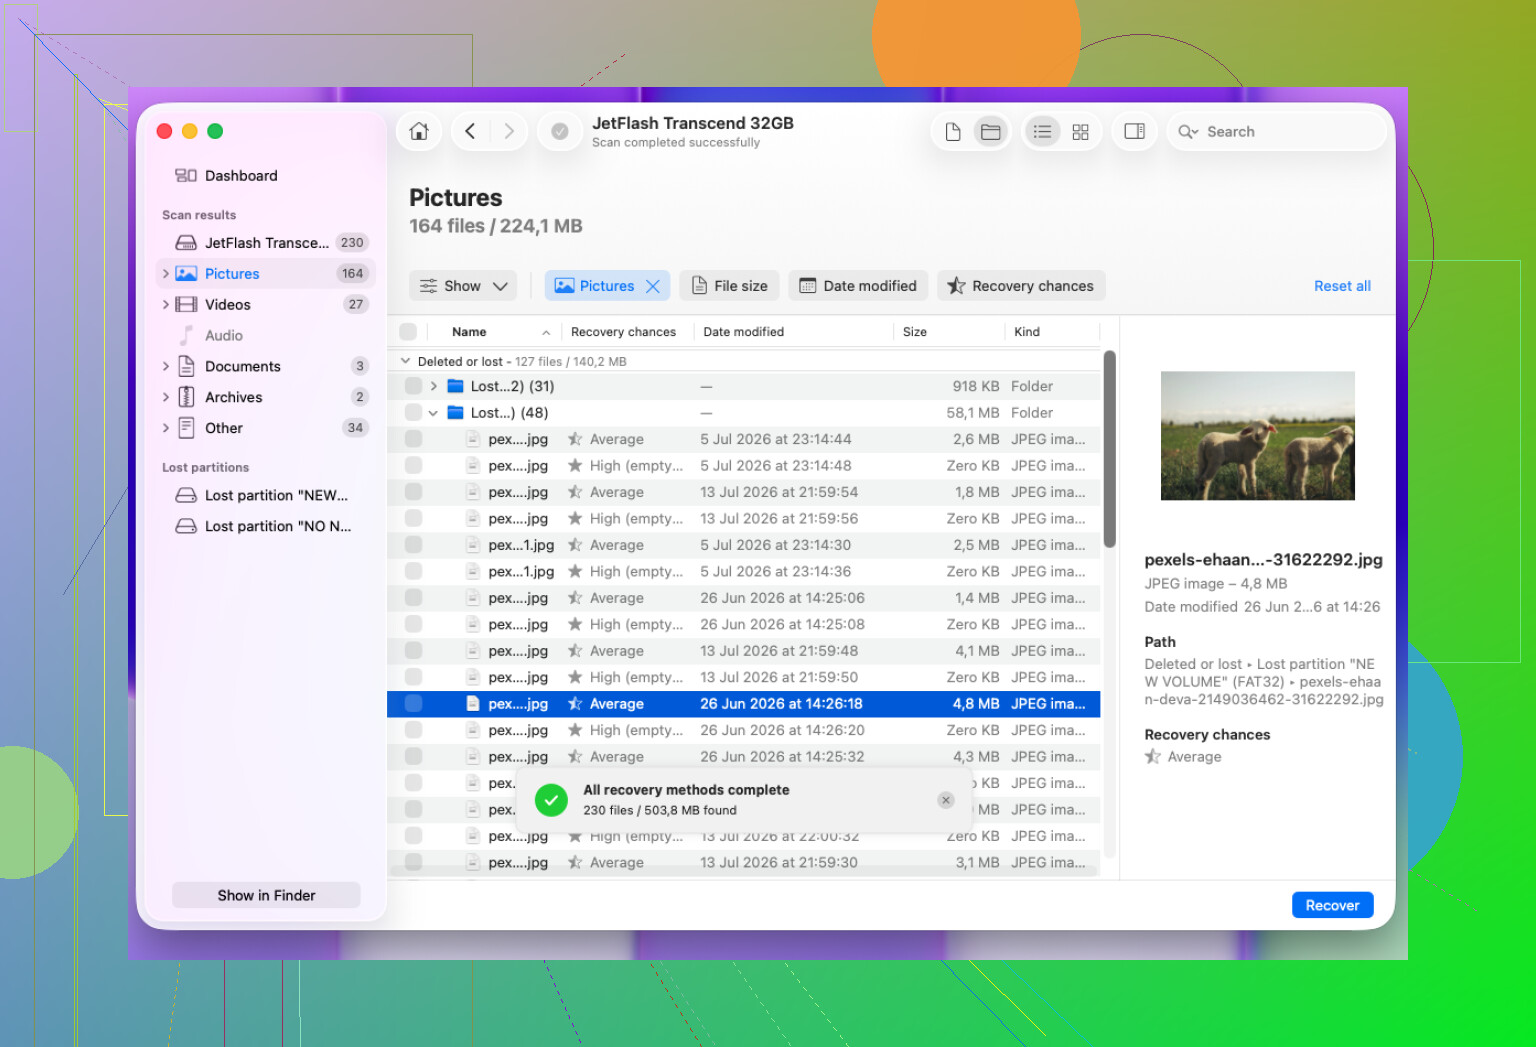
If the drive looks healthy and shows up normally, then I’d move straight to recovery software. For HFS file recovery, Disk Drill is usually the first thing I’d try since it supports HFS/HFS+, works with internal and external Mac drives, and doesn’t require much technical setup.
The basic flow is simple:
- Open Disk Drill and pick the HFS/HFS+ drive.
- Run Search for Lost Data. For external drives, Universal Scan is usually the safest starting point.
- Let the scan finish.
- Preview anything important before recovering it.
- Save the recovered files to a different drive, not the original one.
If that doesn’t find the files, it depends what actually happened. TestDisk can be useful when the whole HFS partition is missing, but it’s not very friendly if you’re used to normal Mac apps because it’s text-based. If you have a recent Time Machine backup, use that first. It’s usually the cleanest and least risky option.
Quick formats and emptied Trash situations are often recoverable because the file contents usually aren’t wiped immediately. The directory entries or references may be gone, but the data can still exist until something else gets written over it.
I’d stop with DIY attempts if the drive won’t show up in Disk Utility, keeps disconnecting, makes clicking or grinding sounds, or recovery tools keep failing with read errors. That points more toward hardware failure than a normal HFS problem. In that case, powering it on repeatedly can make things worse, so a proper recovery lab is usually the smarter move.
4 Likes
If this was on an SSD with TRIM enabled, recovery may already be a lot less likely than on a spinning hard drive. Mike’s “stop writing to it” advice is still the right move, but don’t waste days scanning the original disk if the files are business-critical. Clone it or send it out before you turn a maybe into a no.
Don’t install recovery software on that same drive or restore anything back to it. That is the easy mistake after emptying Trash, especially if the HFS+ volume is your only spare disk. Mike is right about stopping writes, but I’d be even stricter: use another Mac or boot from another volume if you can, then scan the HFS drive read-only and save results somewhere else. Disk Drill is fine for a first pass if the disk is healthy, but don’t judge recovery only by file names and folders. With HFS/HFS+, the original paths may be gone even when the file contents are still recoverable, so check previews and “lost files” results too. If it was an SSD with TRIM, lower your expectations. If it was a regular external HDD and you really haven’t written to it, you still have a decent shot.
If macOS is still auto-mounting that drive normally, treat the first mount as part of the risk, not just whatever recovery app you run afterward. Finder, Spotlight, thumbnails, hidden files, and indexing can all touch a volume. Usually those writes are small, but when you’re trying to save deleted files, “small” is not the same as “safe.”
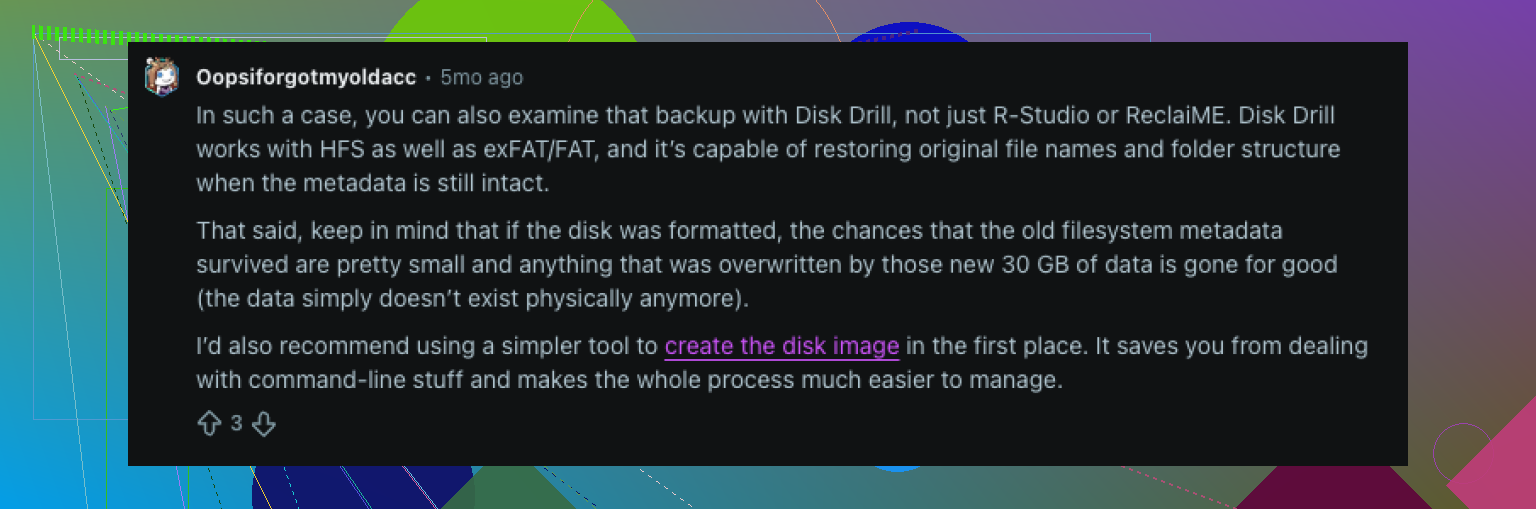
I agree with the advice above about not recovering back to the same HFS+ disk. I’d go a little further and avoid browsing the drive in Finder at all. If you can, connect it only when you’re ready to image or scan it, and turn off anything that might index it. For an external disk, a full byte-for-byte image to another drive is the cleaner move, especially if the original is older or making weird noises. Then you can try Disk Drill or another recovery tool against the image without repeatedly poking the original.
The annoying HFS+ detail is that the file contents and the folder record are not the same thing. After emptying Trash, you might get the data back with junk names or without the original folder structure. So don’t assume “no filename” means “no file.” Preview by file type, sort by size/date if the tool allows it, and recover only to a separate disk. If the missing files are worth more than the cost of a lab, stop after one careful image attempt rather than doing five different scans on the same physical drive.