My external hard drive suddenly became corrupted and Windows keeps asking me to format it. It has important photos, documents, and work files I can’t lose. I’m looking for safe hard drive recovery steps or repair options that won’t make the data loss worse.
If the files matter, treat the drive like it’s fragile and don’t start “repairing” it yet. That’s where a lot of people make things worse. Windows may offer to format the drive or run CHKDSK, but if the file system is already damaged, those actions can reduce your recovery chances.
First step is boring but important: stop writing to the drive. Unplug an external HDD until you’re ready to recover data from it. If it’s an internal drive, don’t copy anything to it, don’t install software on it, and don’t use it as a temporary save location.
You’ll want to get a better idea of what kind of corruption you’re dealing with. Common signs are:
- Windows says the drive must be formatted.
- The file system shows as RAW.
- The drive letter appears, but the drive won’t open.
- The drive is clicking, grinding, or making other bad mechanical sounds.
If Disk Management still shows the drive with the correct size, that’s usually encouraging. It often means the disk is at least being detected properly, and the problem may be with the partition or file system rather than the hardware itself.
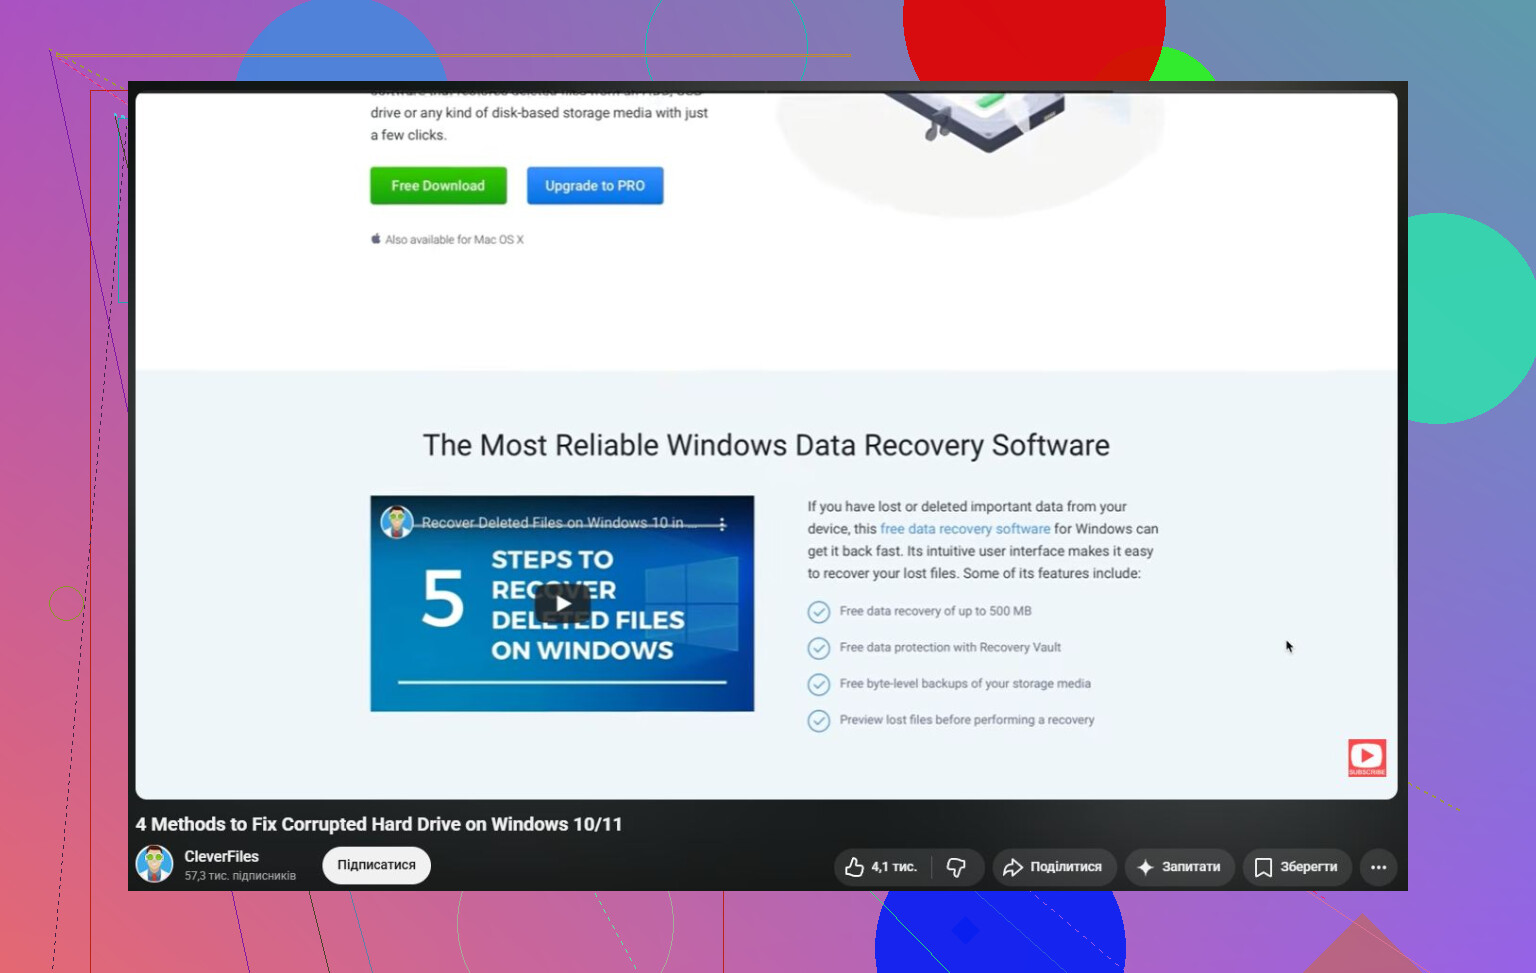
I’d recover the important data before trying repairs. Disk Drill is a good option for this because it can make a byte-to-byte image of the drive first. Then you scan the image instead of putting more stress on the original disk, which is a lot safer if the drive is unstable.
The basic workflow would be:
- Install Disk Drill on a different drive, not the corrupted one.
- Create a disk image if the drive is readable enough.
- Run Universal Scan on that image.
- Preview the files you care about.
- Recover them to another healthy drive.
The Windows version lets you recover up to 100 MB for free, so you can at least confirm whether the files are showing up before spending money.
Once the data is copied somewhere safe, then it makes sense to look at fixing the drive. Start with the simple stuff first:
- Use a different USB cable.
- Try another USB port.
- Connect the drive to another computer.
A surprising number of “corrupted” external drives are really just dealing with a bad cable, flaky port, or failing enclosure.
If the drive is not showing as RAW, you can try CHKDSK after recovery:
chkdsk X: /r
Replace X: with the correct drive letter. Just don’t run it first if the files are important. CHKDSK changes the file system while attempting repairs, and sometimes that means damaged entries get removed or data gets moved around.
If the drive has turned RAW, CHKDSK usually isn’t useful. In that case, recover the files first, then either try repairing the partition with TestDisk or format the drive afterward if you just want to reuse it.
Also pay close attention to how the drive acts while you’re working with it. Stop DIY attempts if you see things like:
- repeated clicking,
- random disconnects,
- painfully slow reads,
- or the drive disappearing from Disk Management.
Those symptoms usually point more toward hardware failure. If the data is valuable, a professional recovery service is the safer route because every extra attempt can make the situation worse.
A corrupted hard drive isn’t automatically dead. A lot of the time the damage is logical and the files are still sitting there. The order matters: recover first, repair or format later. That gives you the best shot at saving the data, and maybe the drive too.
5 Likes
A full scan can be the thing that finishes off a dying drive. That’s the annoying hidden risk here. Recovery software is safer than “repair” tools, but it still reads the disk hard for a long time, so if the drive is physically failing you want to minimize how many times you make it do that.
I agree with @mikeappsreviewer on imaging first, but I’d be extra cautious with external drives because the USB enclosure can be part of the problem. Before running any recovery job, try a different cable and, if it’s a desktop-size external drive, make sure the power adapter is correct and stable. Don’t keep unplugging and replugging it twenty times though. If Windows says “format,” cancel it every time. If the drive clicks, spins up and down repeatedly, disconnects mid-copy, or takes minutes just to show up, stop there and consider a recovery lab.
If it behaves normally and Disk Management shows the right capacity, the safer DIY path is: connect it once, make an image to another drive with enough free space, then scan the image. Disk Drill is fine for that kind of workflow, but the important part is the image, not the brand name. Do not recover files back onto the same corrupted drive. After your files are copied somewhere else, then you can worry about CHKDSK, TestDisk, repartitioning, or formatting. Repairing first is faster, but it’s the wrong gamble when the files matter.
If this is a WD My Book/Passport type external drive, don’t assume removing the bare drive from the enclosure is a safe shortcut. Some externals handle USB translation or encryption on the bridge board, so the same disk connected by SATA can look like garbage even if the platters are fine. Trying another cable or port is harmless, but “shucking” the drive should not be the first move unless you know that model behaves normally outside the case.
I’m with the others on not running CHKDSK first, but I’d be even more boring about it: decide how much the data is worth before you start experimenting. If these are replaceable downloads and old installers, sure, image it and scan the image with something like Disk Drill. If it is family photos, client files, tax records, or anything you would pay real money to get back, stop once you see hardware symptoms. Clicking, vanishing from Windows, or copying at a few KB/sec is not “corruption” anymore, it is a failing device.
A small thing people forget: make sure the recovery destination is large enough before you begin. You need space for the image and then space again for recovered files, unless your tool lets you recover selectively. Don’t try to “fix” the original drive to save space. Buy or borrow another drive first, recover to that, then decide whether the old one is worth formatting and testing. Personally, I would not trust it afterward for anything important even if it seems to come back to life.

If the drive was ever encrypted with BitLocker or a vendor tool, don’t “repair” anything until you know you have the recovery key/password. In that case the safest move is to image the whole drive first, then work from the image, because recovering random files from an encrypted damaged volume can turn into useless scrambled data fast.