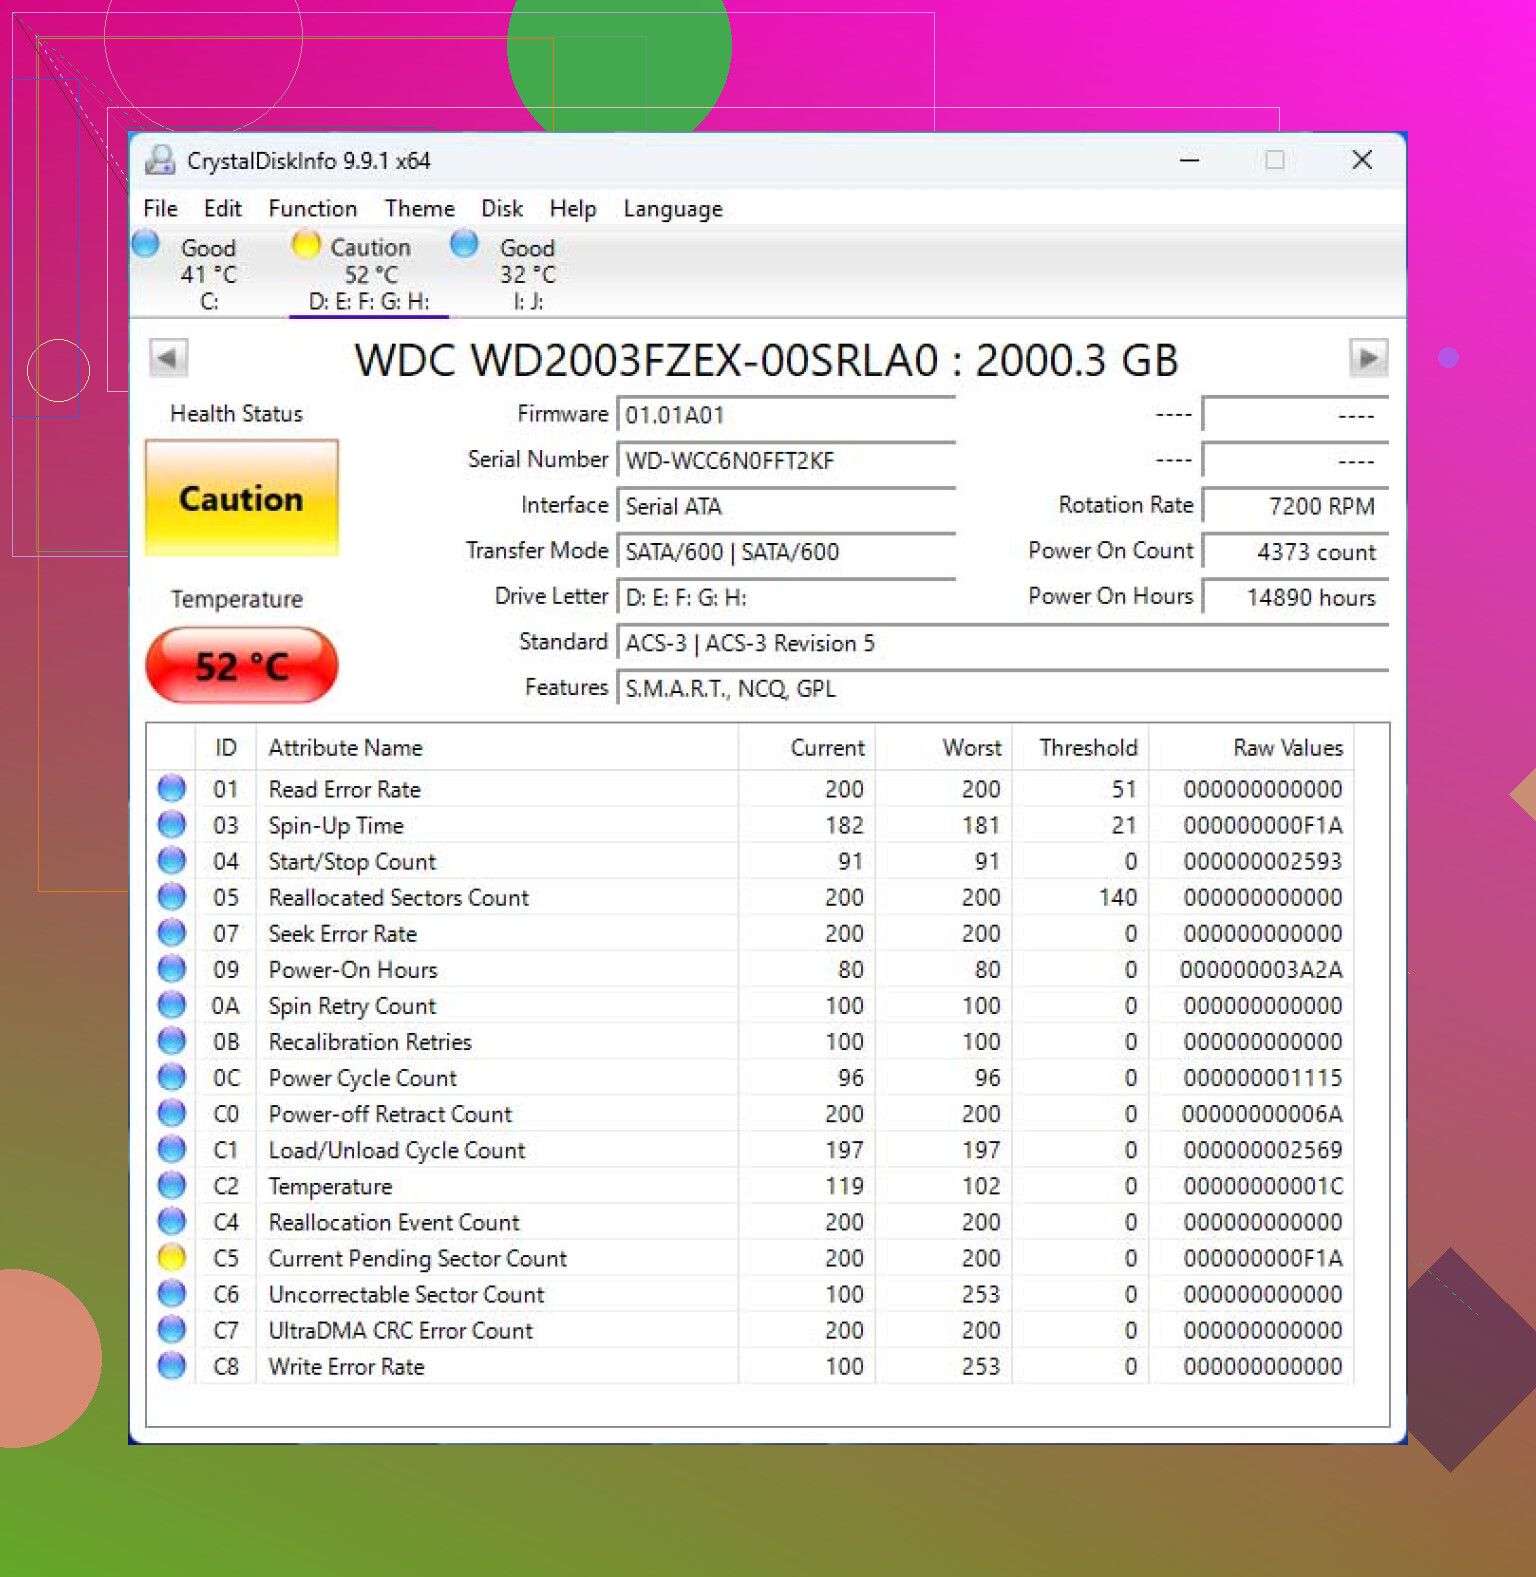
My hard drive started making strange noises and now it has bad sectors. Some important files are still on it, and I’m worried that trying the wrong recovery method could cause more damage or make the data unrecoverable. I need advice on the safest way to recover data from a failing hard drive without making it worse.
CRC errors and bad sectors, what I’d do first
I’ve had this happen more than once. Folder won’t open. Explorer freezes. Then CRC errors start popping up. It feels bad fast, and the main mistake people make is leaving the drive online while they try random fixes.
Stop using the drive now.
If it’s your external disk, unplug it. If it’s the system drive, power the machine off and work from another computer or a bootable USB. I learned this the hard way. A weak drive keeps retrying reads, the OS keeps poking it, indexing kicks in, and the damage snowballs.
What those bad sectors usually mean
There are two broad cases.
Soft bad sectors:
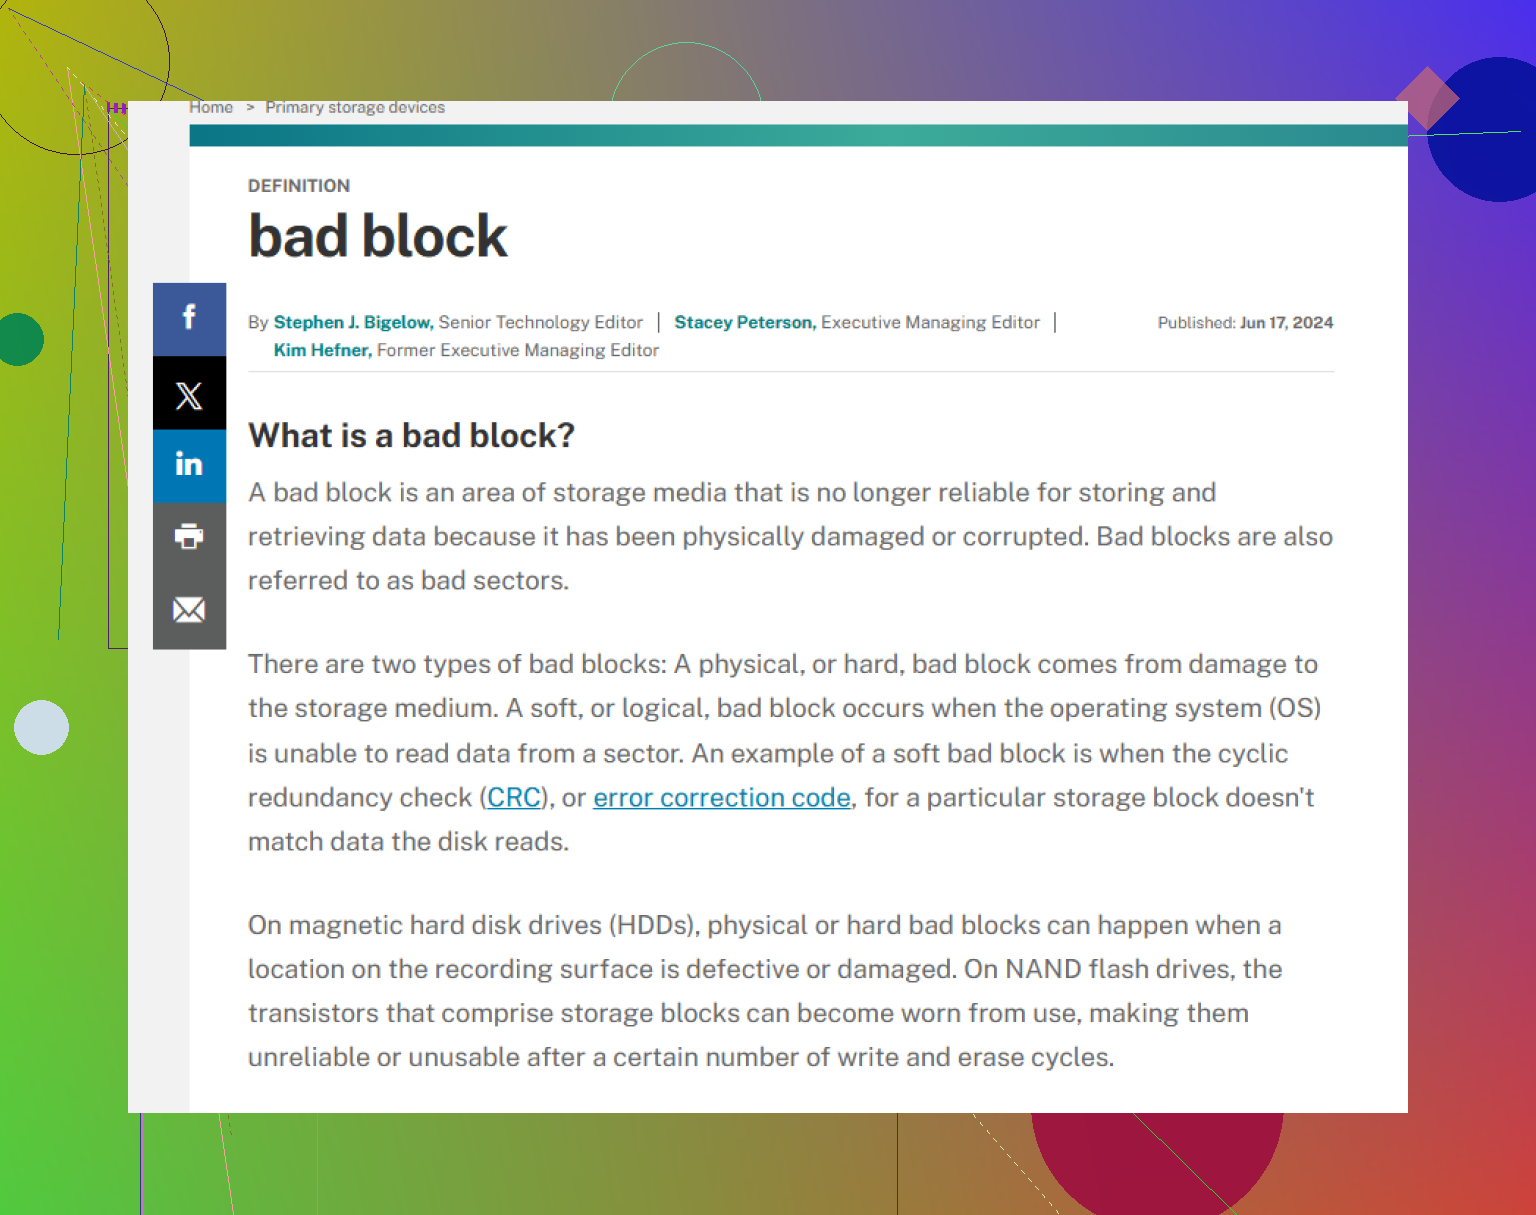
These are read errors tied to corrupted data or checksum mismatch. I’ve seen them after power loss, forced shutdowns, and sketchy USB cables. Sometimes these are recoverable.
Hard bad sectors:
This is physical damage, or a head/media problem. Software won’t repair the damaged spot. At best, it marks the area unusable and you work around it.
So if your goal is file recovery, don’t start with repair tools.
Don’t run CHKDSK first
This part trips people up all the time.
CHKDSK is for making the filesystem usable again. It is not a careful recovery tool. If the metadata is damaged, it might “fix” things by removing references to files you were trying to save. I’ve seen people lose the last clean path to their stuff because they ran repair before making a copy.
What worked better for me was this rule:
Clone first. Poke at the copy later.
The safer path, make an image of the whole drive
You want a sector-by-sector copy, or as close to one as the drive will allow. Then do all scanning and recovery against the image, not the failing hardware.
Reason is simple. A sick drive often gets worse during reads. If it dies halfway through your recovery attempts, your one shot is gone. If you already made an image, you still have something to work with.
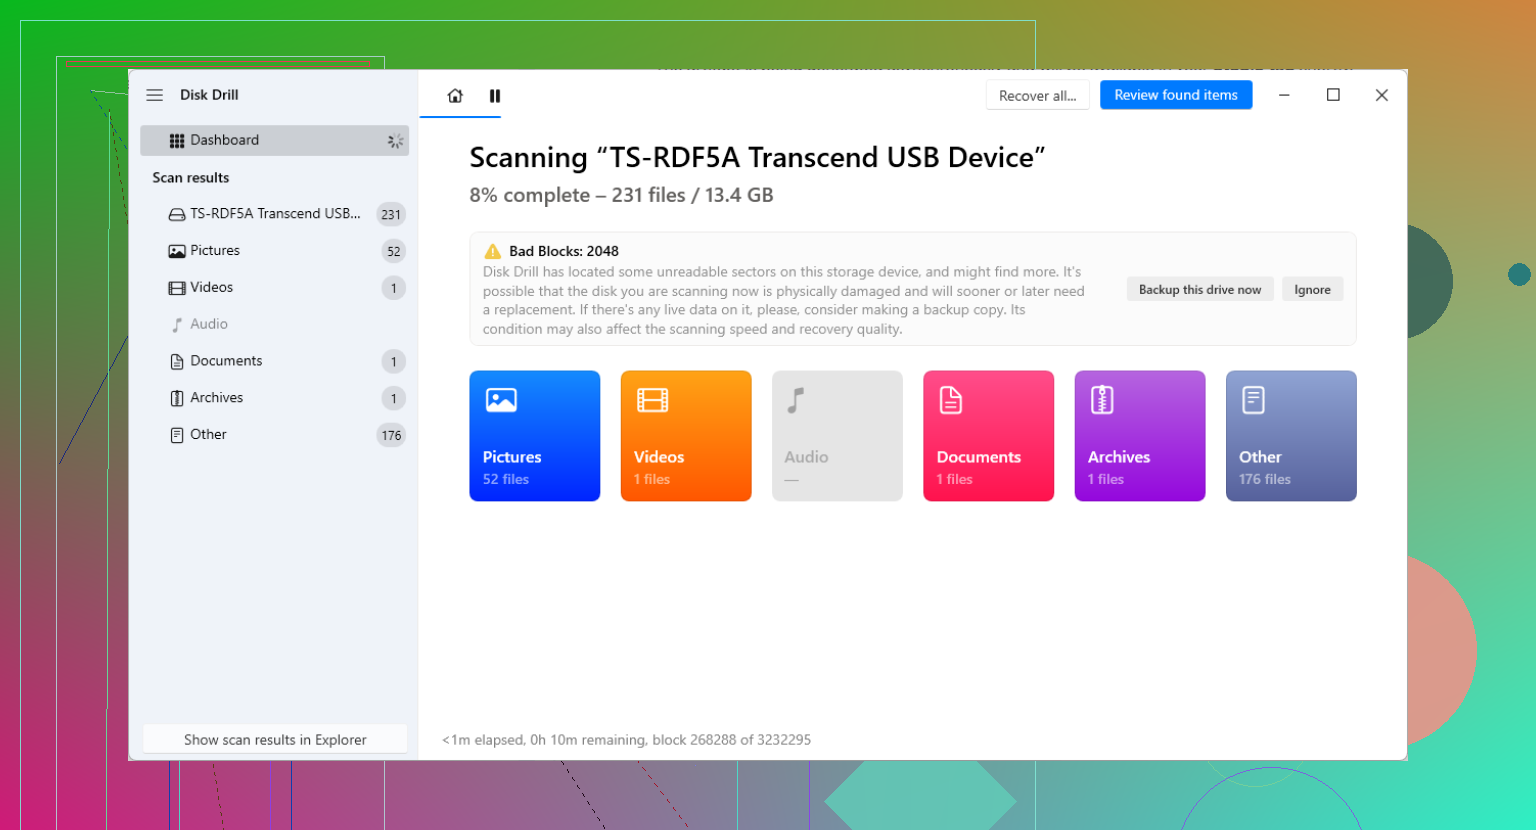
I’ve had decent results with Disk Drill for this part, mainly because of the backup/imaging side, not the deleted-file marketing stuff people focus on.
Why imaging behavior matters on a failing disk
Older tools, or the wrong settings, tend to stall hard on unreadable areas. That’s rough on a dying drive.
What helped in my case was using a tool that skips over bad regions first, grabs the easy readable data, then circles back and retries the ugly spots in smaller chunks. Version 6 of the app above does this better than older builds did. That smaller-block retry behavior matters. Less stress on the drive, better odds of getting a usable image before the thing gives up.
Basic DIY flow
1. Get another healthy drive
You need enough free space to hold the image. Same size as the bad drive, or bigger. Don’t try to save recovered files back onto the damaged disk. Don’t save them onto the image source either. Keep destinations separate.
2. Create the image
Run the backup or image function and let it finish. This part can take a long time. I’ve had one limp along for most of a day because it kept slowing down around damaged areas.
Patience matters here. Stopping and restarting over and over did me no favors.
3. Mount or attach the image
Once you have the .img or .dmg file, open that image inside the recovery software instead of scanning the original drive again.
That cuts repeat stress on the hardware.
4. Recover the files you need
Start with the irreplaceable stuff first. Photos, documents, project folders, databases, anything with no backup. Save recovered files to a third drive or another known-good location.
I’d also spot-check a sample before calling it done. Open photos. Play a few videos. Check file sizes. I’ve had recovered files look fine in a list and turn out broken when opened.
When DIY stops making sense
If the drive is clicking, grinding, beeping, not spinning, or dropping off the bus every few seconds, I would stop there.
Software won’t fix mechanical trouble.
At that point you’re in lab territory. Places like Gillware or Techchef do cleanroom work, head swaps, board diagnostics, all the ugly stuff normal users can’t do at home. Price tends to land around $500 to $3,000 from what I’ve seen, sometimes more. Painful, yes. Still cheaper than losing business records or family photos for good.
If the data has serious cash value, or zero replaceability, I wouldn’t experiment much.
After the files are safe
Only after recovery is done would I mess with repairs.
If you still want to test the drive, Windows gives you a couple of routes:
chkdsk /rin PowerShell or Command Prompt- Full Format, not Quick Format
Both force the system to read through the disk and mark bad areas so they won’t be used again. That said, once a drive starts throwing bad sectors, I stop trusting it for anything important. Maybe scratch storage for junk. Nothing else.
The boring lesson I ignored too long
A drive with growing bad sectors is often on the way out. Not always in one day, but I’ve yet to see one “recover” into a disk I trusted.
Set up backups after this, not next month. The 3-2-1 setup is still the least dumb option:
- 3 copies of your data
- 2 different storage types
- 1 copy off-site
That rule saved me later, after I learned it too late the first time.
4 Likes
Strange noises changes this for me. I would treat it as a failing drive first, filesystem issue second.
I agree with @mikeappsreviewer on one part, do not start with CHKDSK. I disagree a bit on waiting too long with software if the drive is still detected and stable for short reads. In some cases, your best move is triage. Copy the most important folders first, small stuff first, before a full image run chews on weak areas for hours.
My order would be:
- Stop normal use.
- Check SMART from another system, read-only tools only.
- If you hear clicking, grinding, spin-up spin-down, stop DIY.
- If it stays online, grab priority files first or image it with Disk Drill.
- Recover to a different healthy drive.
A drive with unreadable sectors, often called hard drive bad sectors and unreadable storage blocks, is usually on borrowed time. Noise plus CRC errors is a bad combo. If SMART shows reallocated sectors, pending sectors, or uncorrectable errors rising, that is your signal. I’ve seen drives go from ‘mostly fine’ to dead in one afternoon.
Disk Drill makes sense here because you can work from an image after the first pass. That cuts repeat reads on the failing disk. If the drive keeps dropping offline, skip home recovery. Lab time. It sucks, but opening it yourself is how people turn recoverable data into e-waste.
Do not freeze it. Do not tap it. Do not run defrag. Yep, people still do this stuff.
Strange noises is the part that changes the answer for me. Bad sectors alone can be logical, cable-related, or media damage. Noise usually means the drive is physically unhappy, so I would not do any “repair” passes at all yet.
I mostly agree with @mikeappsreviewer and @caminantenocturno, but I’d push one extra thing: check the enclosure/cable before assuming every CRC error is platter damage. CRC can come from a flaky USB bridge too. If this is an external HDD, sometimes removing it from the enclosure and attaching it directly by SATA tells you whether the enclosure is the liar. Just don’t keep power-cycling it 20 times.
What I’d do:
- Limit spin-ups. Every restart can be the last one.
- If it mounts, copy a handful of tiny irreplaceable files first. Not whole folders, not videos first.
- Then make an image if the drive is still readable enough.
- Do recovery work from the image, not the original.
Disk Drill is fine for this because you can image first and then scan the image, which is the main point here. I would also review the drive’s health data with a SMART status check before deciding whether to keep trying DIY: how to read SMART data before a failing hard drive gets worse.
One small disagreement with the “image first no matter what” crowd: if the drive is dying fast but still opens, triage-copying your absolute must-have docs first can beat a 6-hour imaging job that never finishes. Not always, but sometimes. If it clicks, chirps, or disappears from BIOS, stop. That’s lab territory, no qestion.