I found an old Seagate hard drive with files I’d like to recover, but I’m not sure if it still works or how to safely access it. I need advice on Seagate drive recovery options, connection methods, and avoiding data loss before I try anything.
Stop using the Seagate drive for now. That’s the big thing. If Windows is asking you to format it, files disappeared, or the drive suddenly looks empty, don’t keep plugging it in and poking around. Deleted or “missing” files often still exist on the disk until something new gets written over them.
First check whether the drive sounds healthy. Normal spinning is one thing, but clicking, grinding, repeated spin-up noises, or anything that sounds mechanical is a bad sign. In that case, I would not run recovery scans on it. Check Seagate’s Rescue Data Recovery Services first, because some Seagate drives include Rescue coverage for a limited period. You can look up the drive by serial number on Seagate’s site before paying for recovery somewhere else.
If it sounds normal and the issue is more like “not showing in File Explorer,” showing as RAW, or Windows saying it needs to be formatted, DIY recovery may still be worth trying. A lot of the time the data is still there, but Windows just can’t read the file system properly.
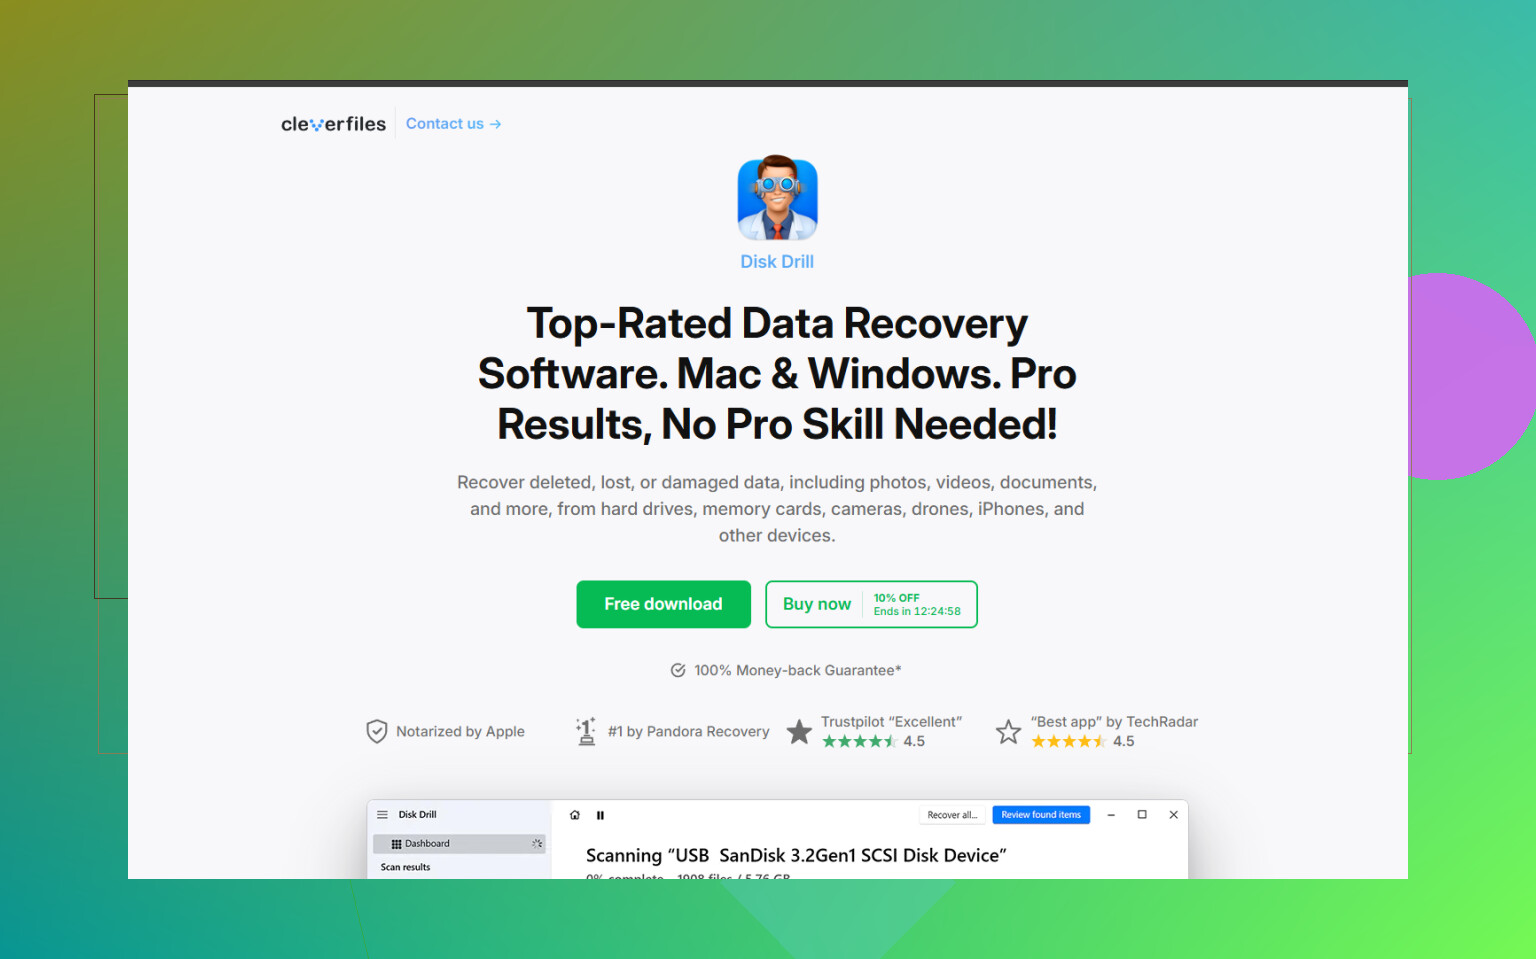
For software recovery, Disk Drill is a reasonable option for Seagate external drives, especially if the drive was disconnected without ejecting or now shows up incorrectly.
A safer way to approach it:
- Do not install the recovery app on the Seagate drive. Install it on your computer’s internal drive or another external drive.
- If the drive seems flaky, use Disk Drill’s byte-to-byte backup feature first. That makes a full disk image, so you can scan the image instead of stressing the original drive.
- Use a known-good USB cable and try another port if the drive is not detected. Bad cables are more common than people think with portable drives.
- Scan the Seagate drive or the disk image for lost data.
- Preview files before recovering them. If photos, videos, or documents preview correctly, that’s a good sign they’re recoverable.
- Save recovered files somewhere else. Never recover them back onto the same Seagate drive.
If Disk Drill or another tool doesn’t show the drive, check Windows Disk Management. If the drive appears there with the right size, like 2TB or 5TB, recovery software may still be able to read it even if File Explorer can’t.
Once you get the important files back, don’t just assume the drive is fine. Download SeaTools from Seagate and run the Long Generic Test. If it fails, replace the drive. If it passes, you can format and reuse it, but I’d still keep a separate backup from now on.
Scans on large drives can take a while, so don’t panic if it’s slow. If the drive powers on, sounds normal, and shows the correct capacity, you’ve probably still got a decent shot at recovering the files.
5 Likes
Whether this is a bare SATA drive or a sealed USB external changes the safest first move. If it’s a 3.5’ desktop drive, don’t try to run it from some random USB cable alone. It needs proper 12V power through a powered dock, enclosure, or direct SATA connection. A 2.5’ laptop drive can usually run from USB, but even then a weak front-panel port or cheap adapter can make a good drive look half-dead.
I’d be a little careful with the “just remove it from the enclosure” advice you’ll see online. Some older external Seagates use USB bridge boards that affect how the disk is presented, and a few external drives may have encryption tied to the enclosure board. If the drive came as a Seagate external, try accessing it through its original enclosure first, assuming the port and power supply are not obviously broken. If the enclosure is dead, then a SATA dock or adapter is the next thing to try, but don’t be surprised if the partition looks different outside the case.
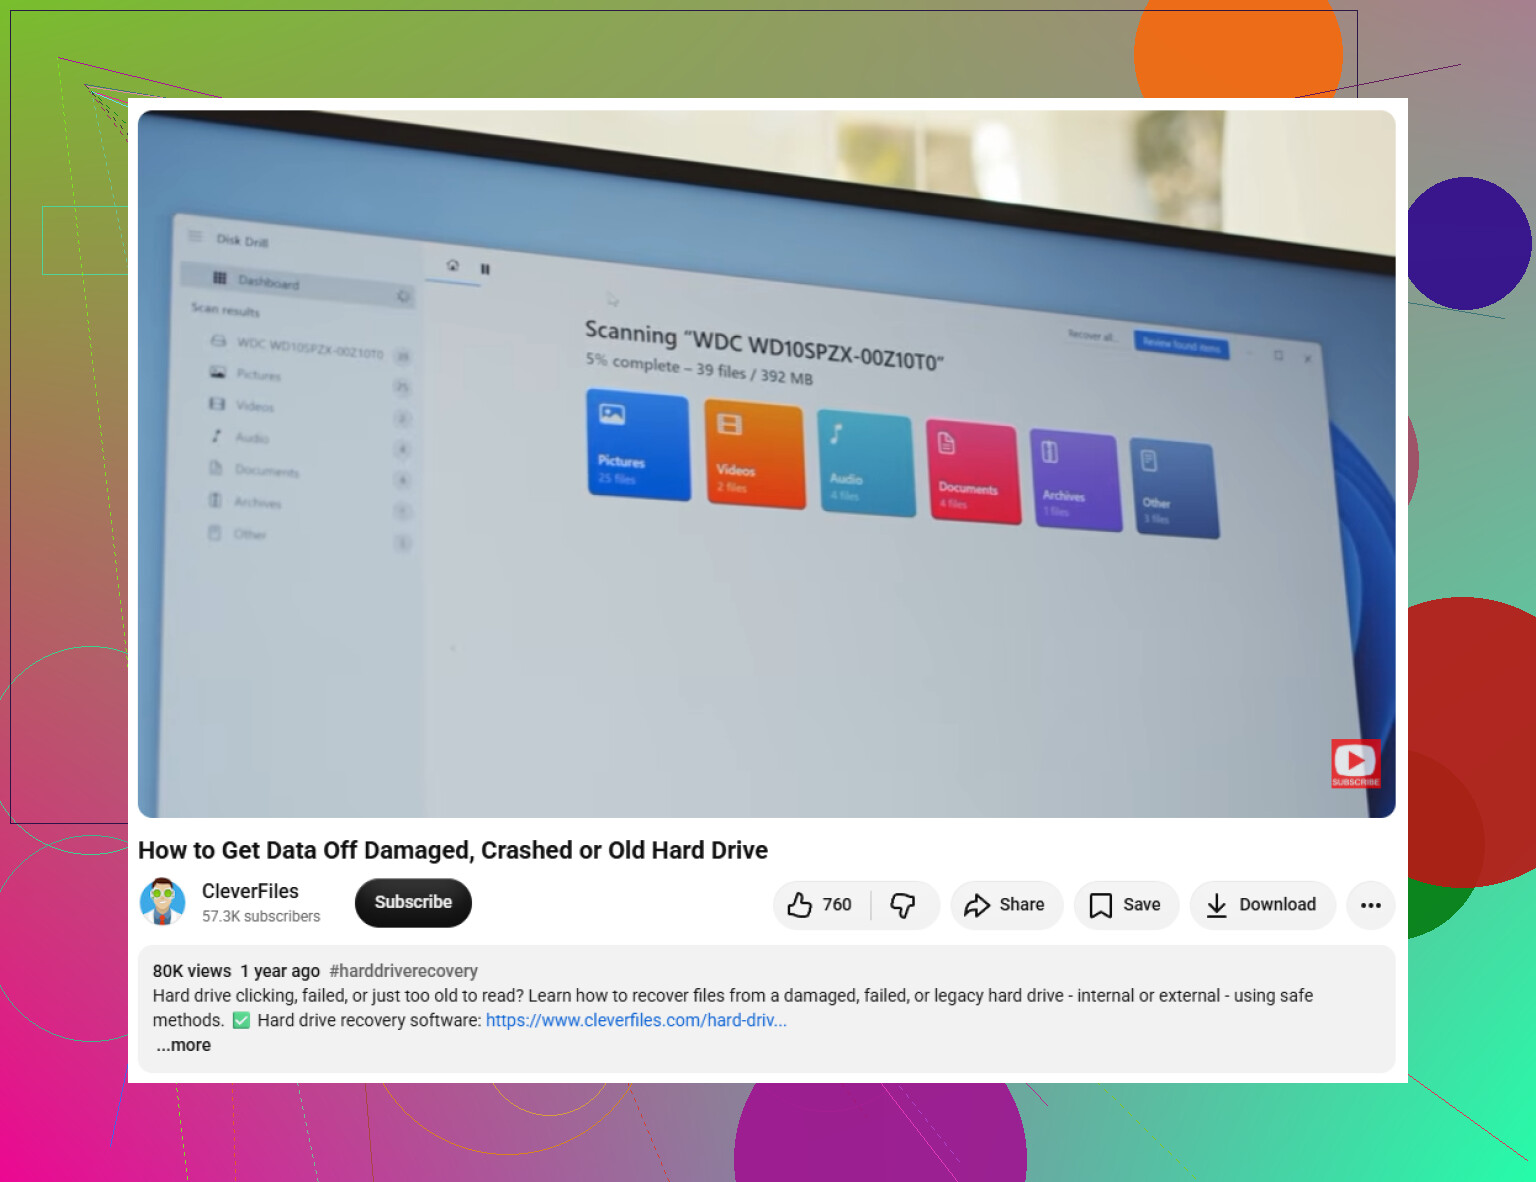
For DIY recovery, I agree with the earlier point about not saving recovered files back to the same disk. I’d go even simpler before running any long scan: confirm the drive shows the correct capacity in Disk Management. If a 2TB drive shows as 2TB, that’s workable. If it shows as 0 bytes, wrong size, or keeps disconnecting, software like Disk Drill probably isn’t the first move anymore. At that point you’re risking making a hardware problem worse, and a recovery lab starts to make more sense if the files matter.
Don’t let Windows “fix” the drive, run CHKDSK, initialize it, or format it just because a popup says it needs attention. Those buttons can turn a recoverable file system problem into a mess by writing changes to the disk. Same goes for Mac Disk Utility First Aid if you happen to plug it into a Mac. Look only, don’t repair, until you have a copy or image.
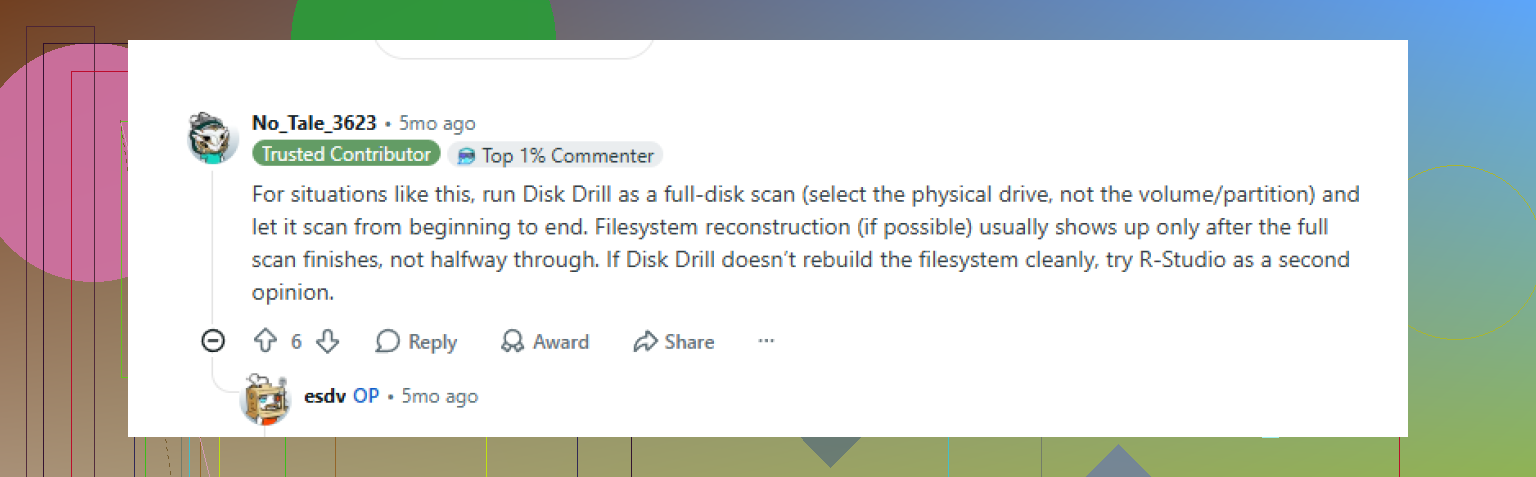
The other replies are right about checking power and whether the drive reports the correct size, but I’d put imaging ahead of file recovery if the files matter. A recovery scan can read the whole disk for hours, and if the drive is old or marginal, that may be the last long read it tolerates. If it mounts and sounds normal, copy the most important folders first if you can see them. If it doesn’t mount cleanly, make a sector-by-sector image to another drive with enough free space, then scan the image with Disk Drill or whatever recovery tool you prefer. Disk Drill is fine for a user-friendly scan, but it is not a magic fix for a drive that is dropping offline or clicking.
A small thing people forget: try to identify the drive before buying adapters. A bare 3.5 inch SATA drive needs both SATA data and proper power. An old IDE/PATA Seagate needs a different adapter entirely, and those jumper settings can matter. If the drive is from an external case, keep the original power brick and bridge board around until you know whether the disk reads correctly without it. And if the data is genuinely valuable, stop after basic detection checks and get a quote from a lab rather than “testing” it all weekend.
The original computer or enclosure it came from matters more than the Seagate label. If this drive was pulled from a NAS, DVR, old Mac, or a RAID box, don’t treat it like a normal Windows USB drive. A single disk from a multi-drive setup may look unreadable even when nothing is “wrong” with it, and letting Windows initialize it would be a bad move.
I agree with @mikeappsreviewer on imaging first, but I’d narrow the first check even more: connect it only long enough to see whether the drive identifies with the correct model and capacity. If it does, shut it back down and decide your plan before running scans. If it came from a plain Windows PC or simple USB enclosure, then a dock or SATA-to-USB adapter with its own power supply is fine for a 3.5’ drive. For a 2.5’ drive, USB is usually enough, but use a decent cable and avoid hubs.
Disk Drill can be useful once the drive is stable and visible, especially if you can scan an image instead of the original disk. I would not point any recovery program at a clicking, vanishing, or zero-byte drive and let it grind away overnight. That is where DIY stops being “cheap recovery” and starts becoming “making the lab’s job harder.” If the files are only nice-to-have, experiment carefully. If they are irreplaceable, get the drive identified, record what it does, then stop.